The Idea
For this project, I needed to do 3 things:
1. 2D laser cut and engrave a 4.25x5.5 cover for a note pad; must have both a cut process and an engraved process
2. Laser engrave a water bottle; design should include both text and an image
3. Laser cut a 3 Dimensional item from Thingiverse; must fit on a sheet of material no bigger than 18x32
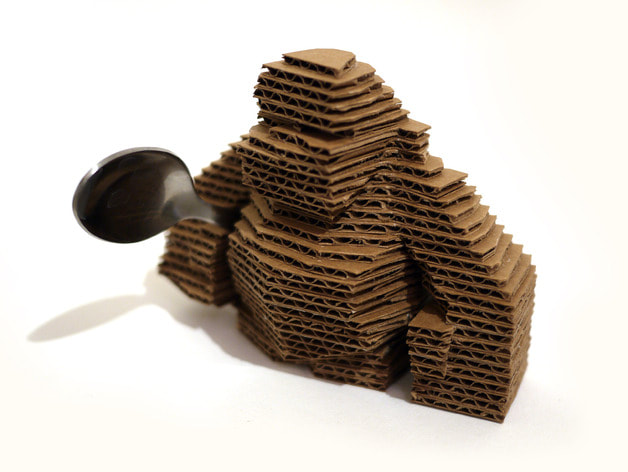
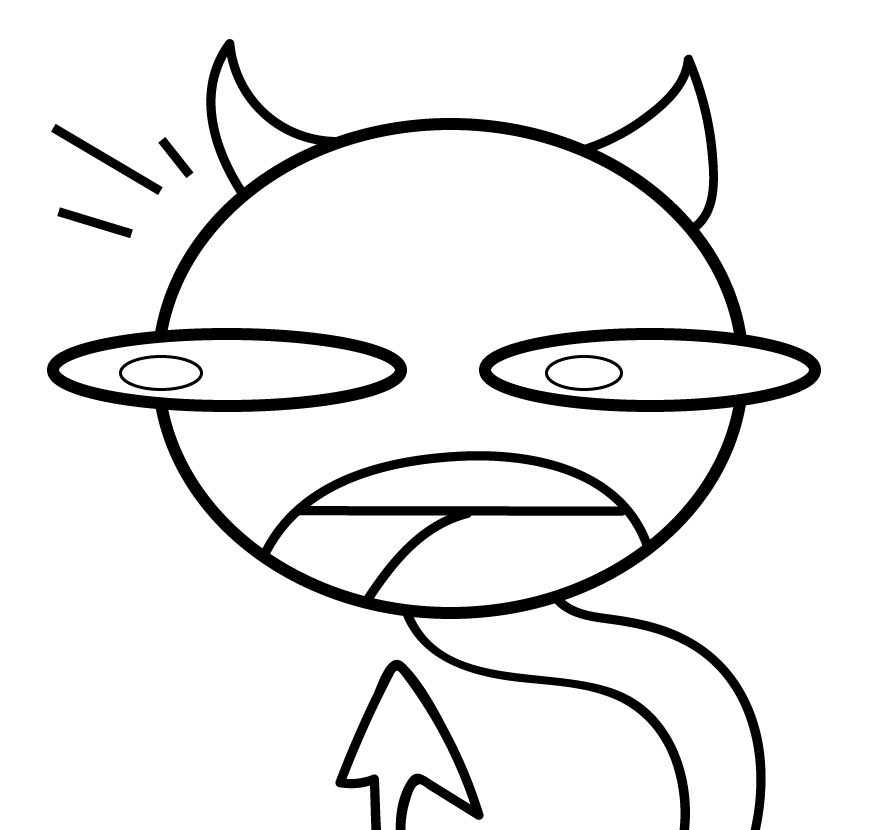
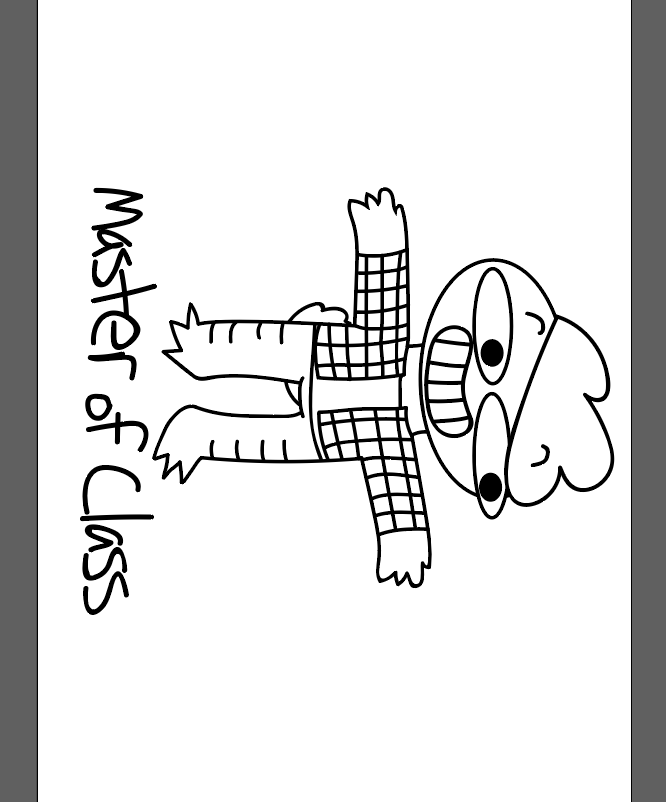
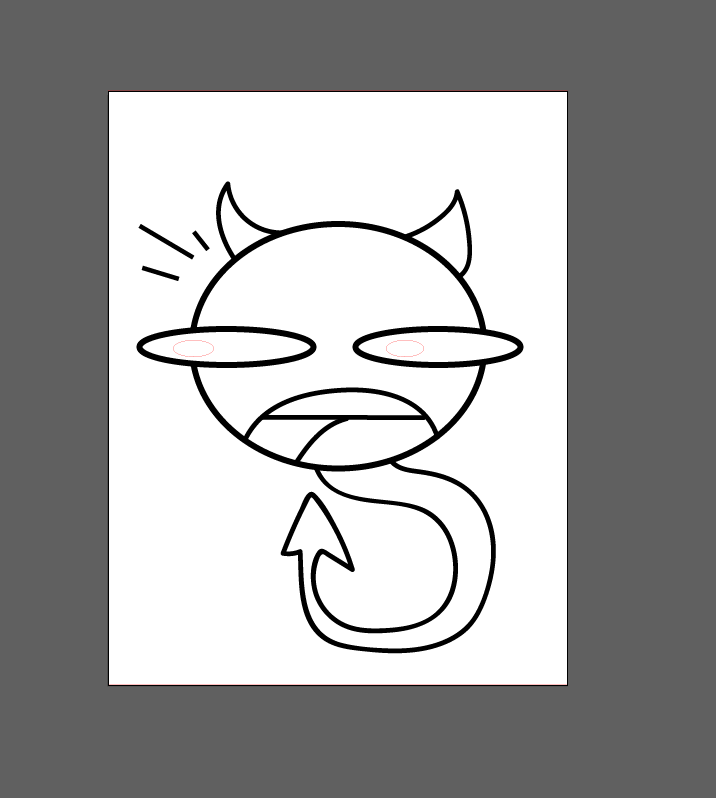
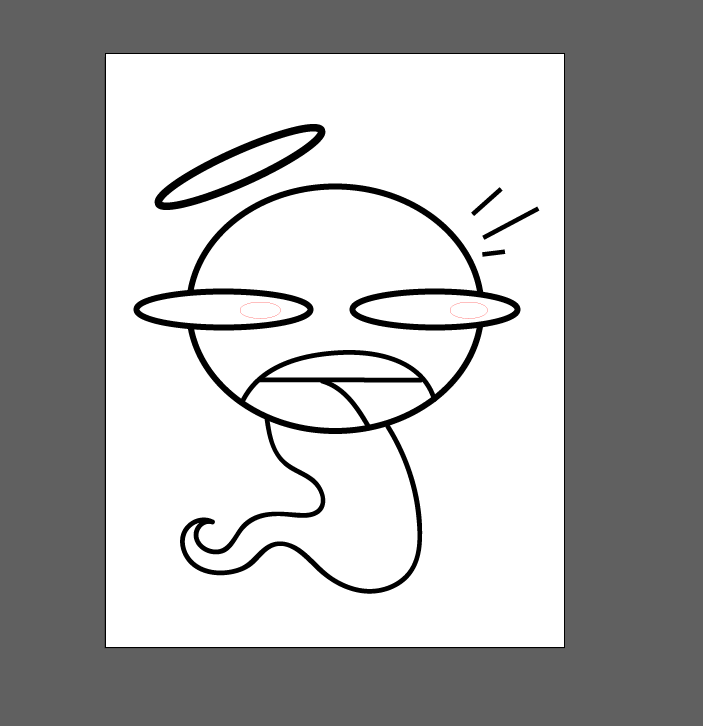
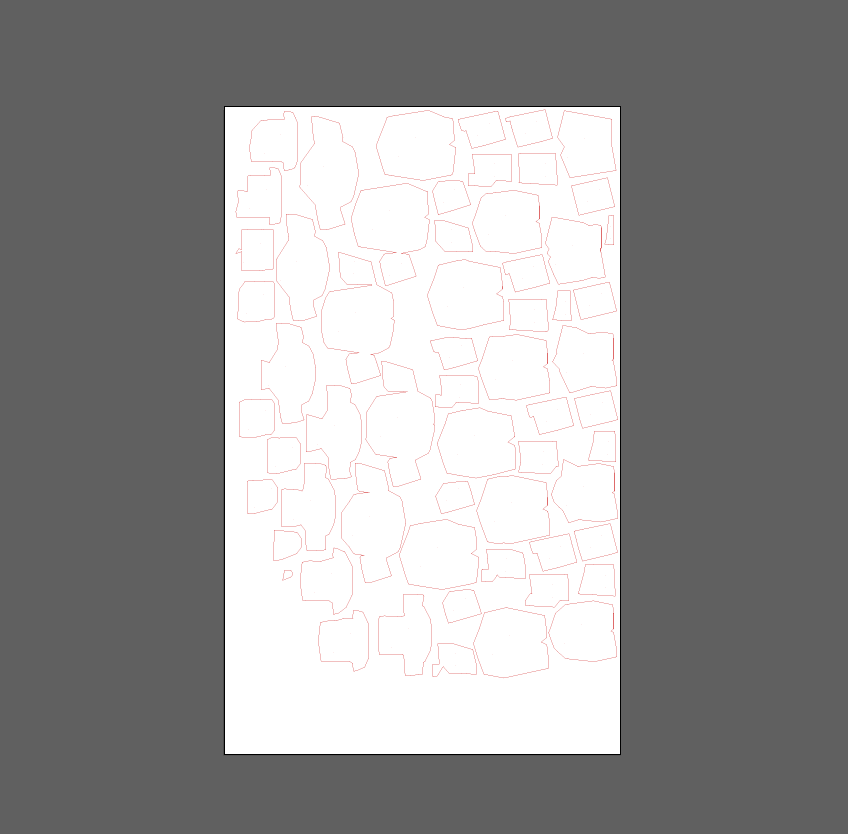
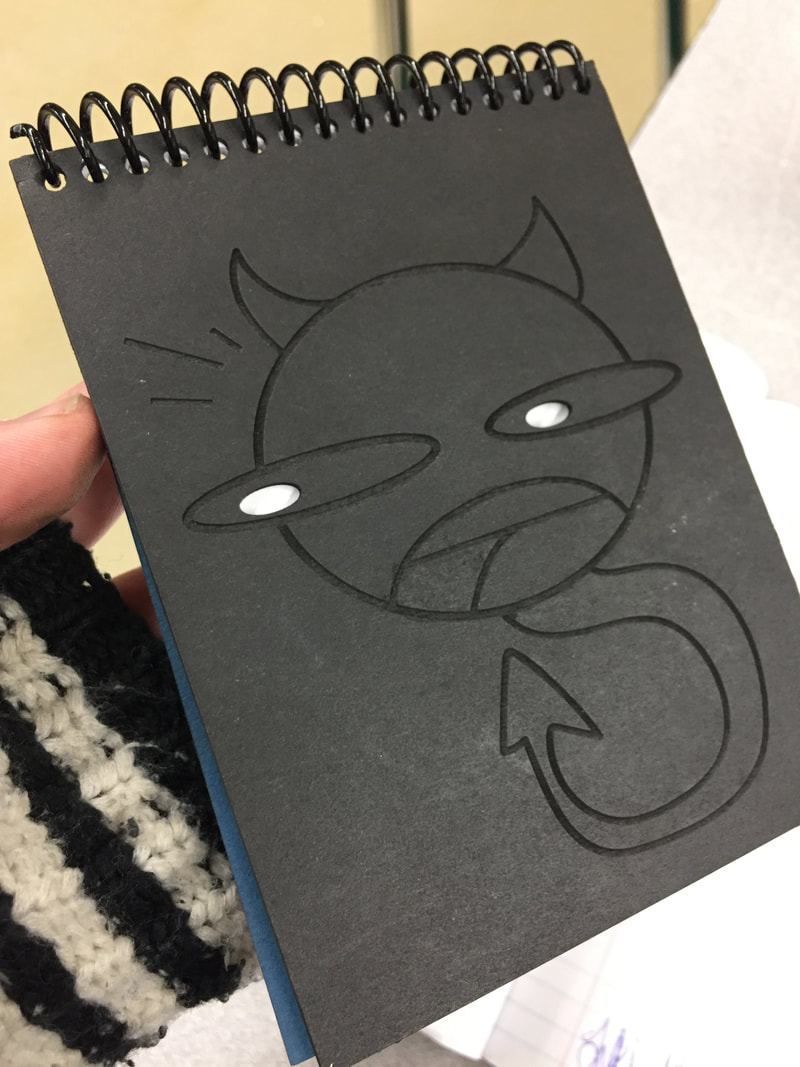
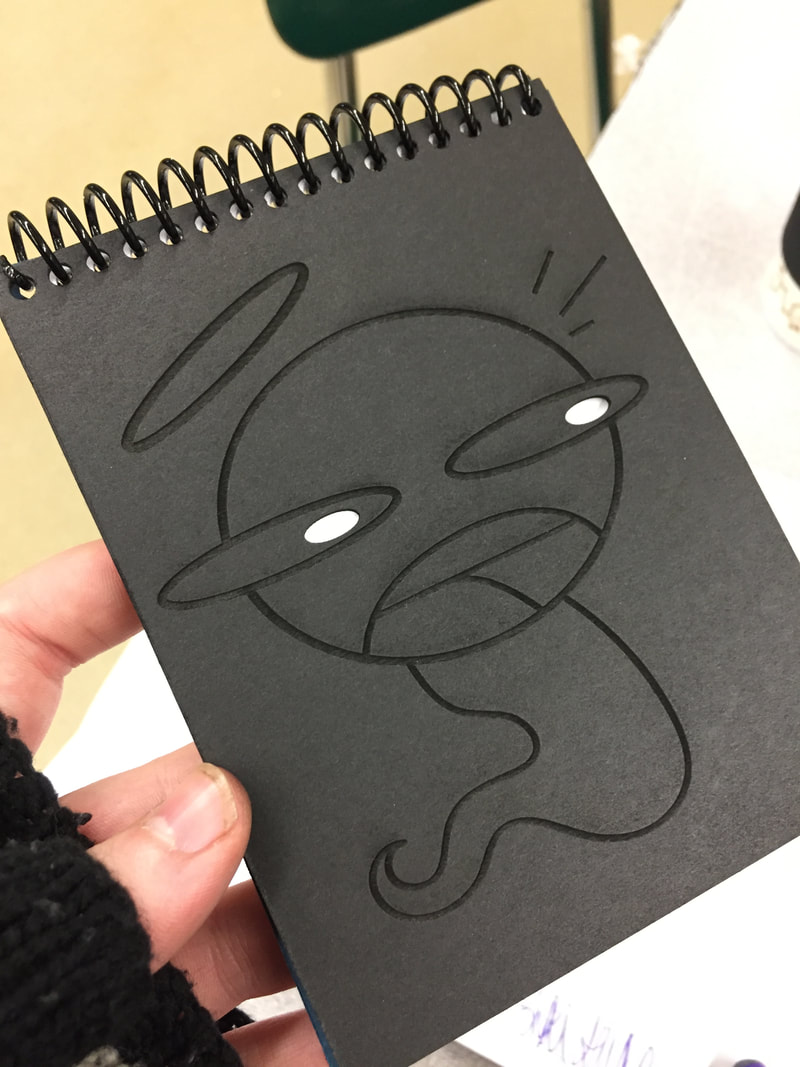
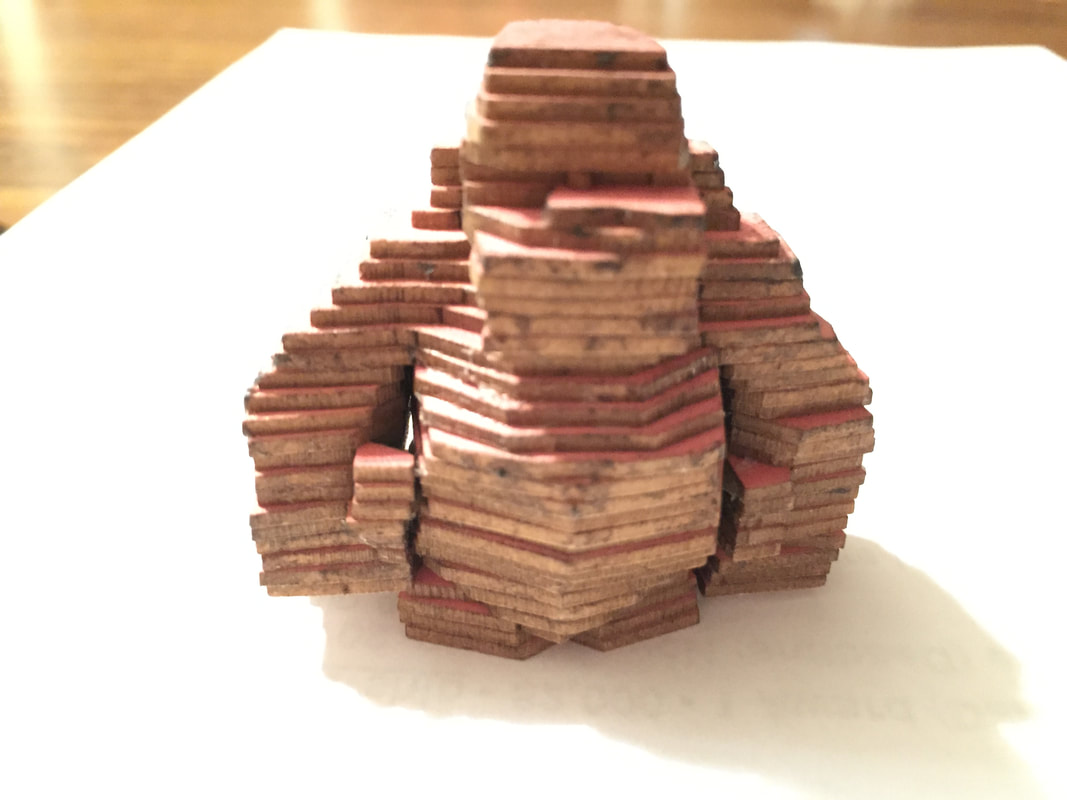
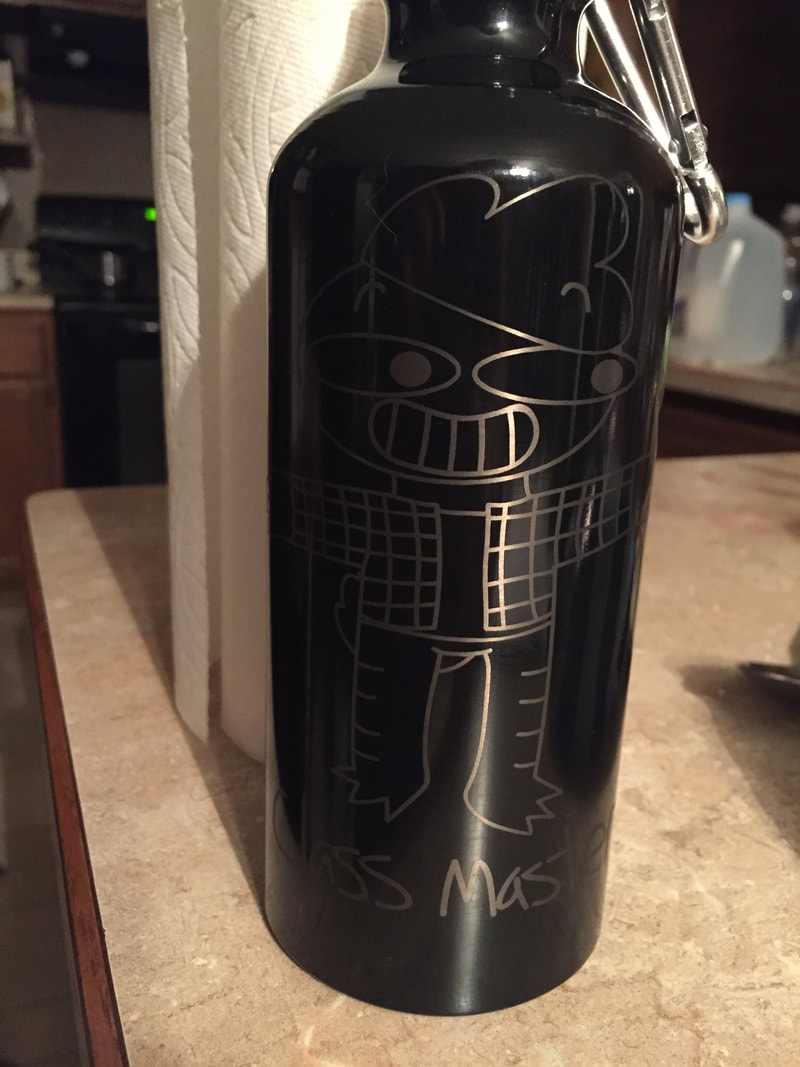
For the note pad, I decided I wanted to engrave some cute doodles on the front and back covers; I drew up a little devil for the front and a ghost for the back, with their pupils being the cut areas. On the water bottle, I decided on a recurring character of mine (I guess you could call them a mascot of sorts) with the text "Class Master" written beneath. Finally, I chose a project created by bobtato on Thingverse entitled "Lo-Rilla" to cut and assemble for my 3D project.
1. 2D laser cut and engrave a 4.25x5.5 cover for a note pad; must have both a cut process and an engraved process
2. Laser engrave a water bottle; design should include both text and an image
3. Laser cut a 3 Dimensional item from Thingiverse; must fit on a sheet of material no bigger than 18x32
For the note pad, I decided I wanted to engrave some cute doodles on the front and back covers; I drew up a little devil for the front and a ghost for the back, with their pupils being the cut areas. On the water bottle, I decided on a recurring character of mine (I guess you could call them a mascot of sorts) with the text "Class Master" written beneath. Finally, I chose a project created by bobtato on Thingverse entitled "Lo-Rilla" to cut and assemble for my 3D project.

Using Illustrator
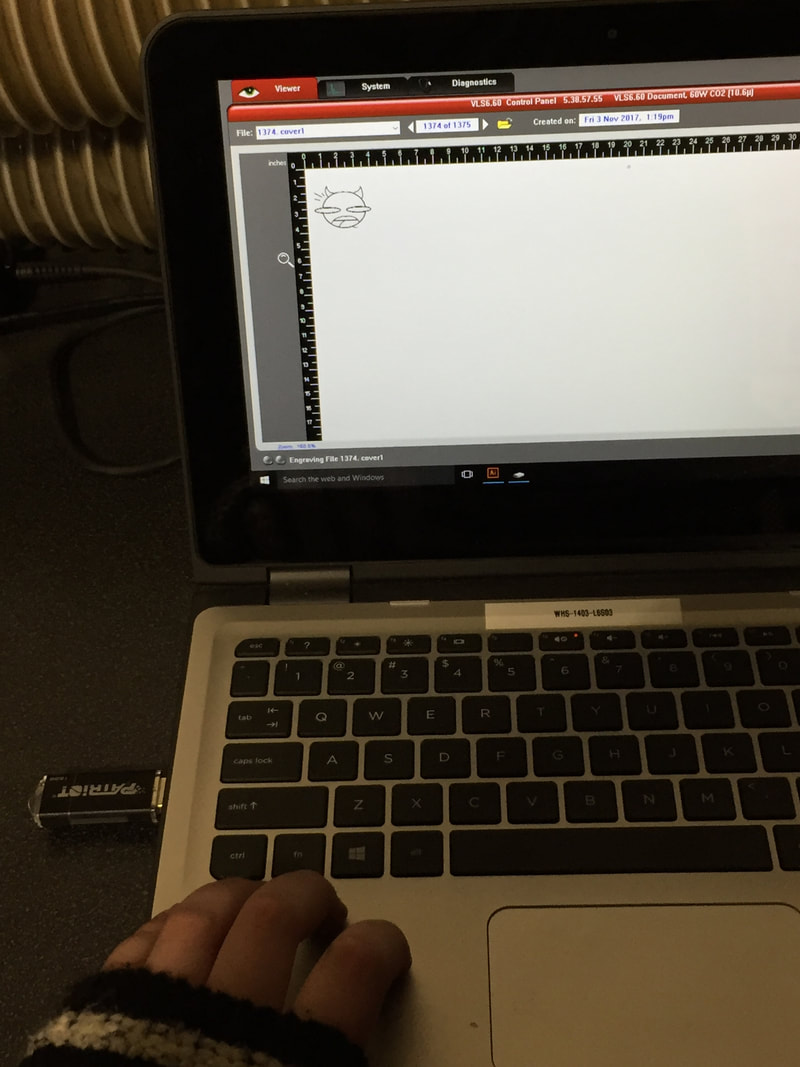
For the first project, I started off using the shape tool to make the heads and eyes for both covers; I then used the paintbrush tool to draw the rest of it. Any areas I needed to cut had the line thickness set to 0.0001 and the color changed to red. The same goes for the water bottle; I used the circle tool for any oval/circular objects, and the paintbrush for the rest, though there were no areas I needed to cut through on the water bottle. On the third project, the biggest struggle was finding the correct file to use with the laser, as the download came with many files that were either meant for 3D printing or in formats unreadable by Illustrator. Thankfully, I was able to locate the correct file and convert it to an Illustrator file, then set all of the line colors and weights to the correct settings in order to cut.
Cutting and engraving
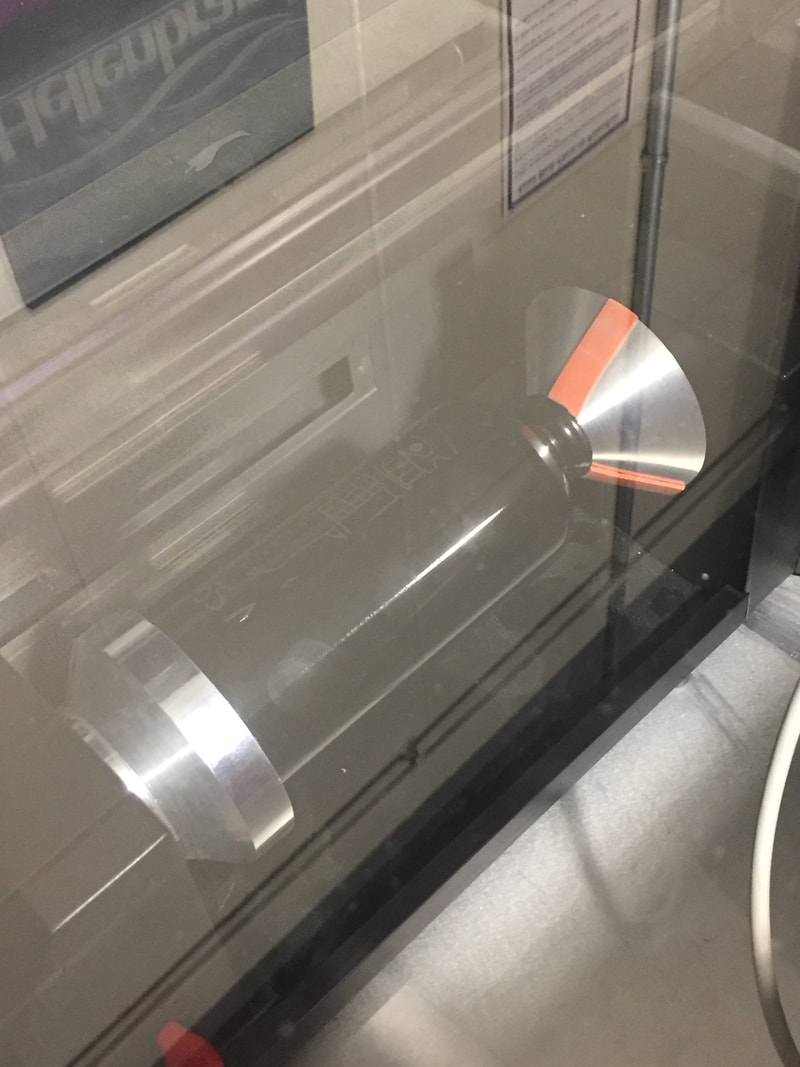
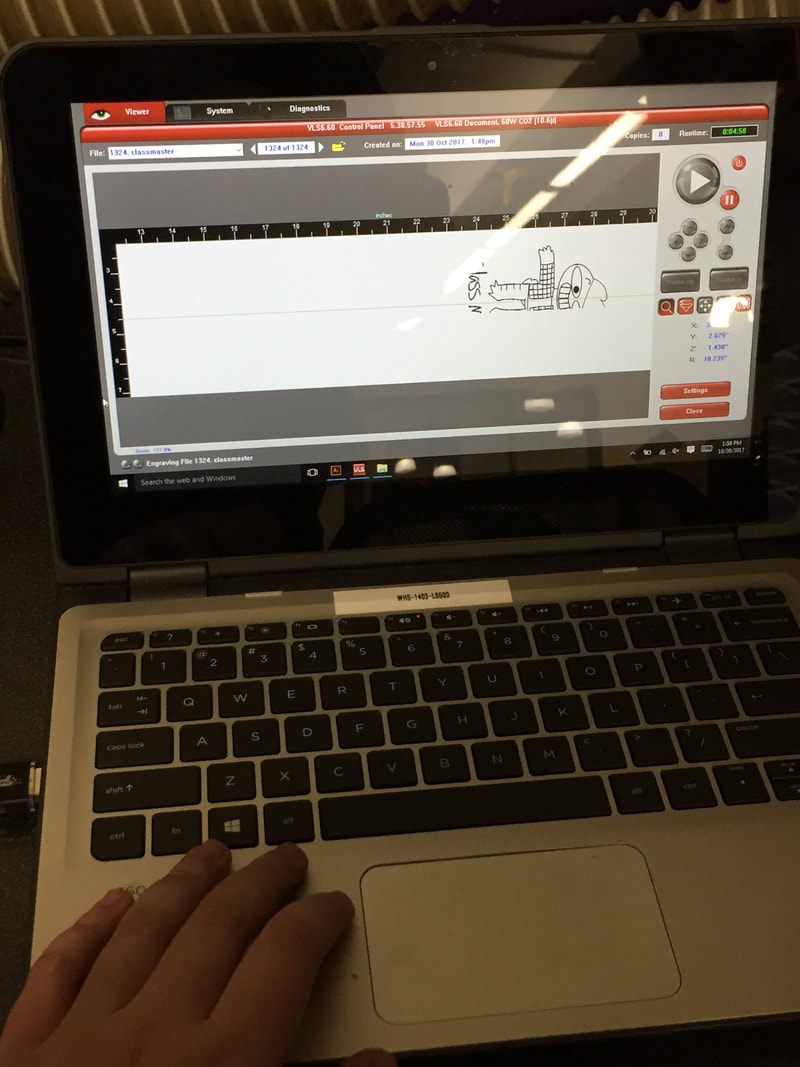
The engraving process was the most straightforward aspect of the projects, though it did come with one setback: the amount of time it took for each project to engrave ranged from anywhere between 8 minutes to 20, which overall wasn't too bad in the grand scheme of things. The water bottle was the most straightforward out of the three post-engraving, as nothing needed to be done to it once it came out of the jig. The notebook covers had to have holes punched for the notebook coils to be inserted, and had to have paper cut for the the actual notebook aspect; once everything was cut all that had to be done was putting it all together. The last thing I ended up cutting was my Thingverse project, and once it was cut all I needed to do was stack the pieces and glue them in place; the lack of clear instructions made that a bit difficult but I was eventually able to figure it out.
Summary
Over the course of this individual project, I learned how to set up and use the rotational jig for the laser, as well as how to find projects on Thingverse. Though I already knew the basics of Illustrator, this project also served to further re-acquaint me with the program. It has been quite a while since I last used it for anything more than text or converting a raster file to a vector image. The biggest lesson I learned during this time however was the amount of time that the laser actually requires to cut or engrave larger files. At the beginning, I greatly underestimated the amount of time it would take to cut/engrave all 3 projects.
