What is inventor?
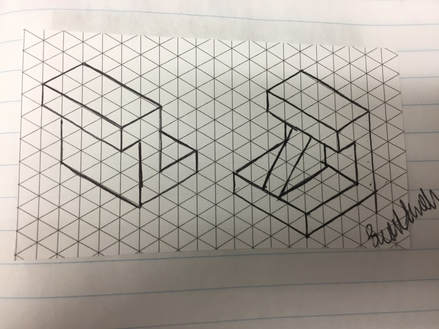
Inventor is one of many available computer programs on the market that allow for the creation of 3D models of shapes, as well as making them viewable on both 2D planes and in 3D space. Some examples of what you can do with the program can be seen below:
|
|
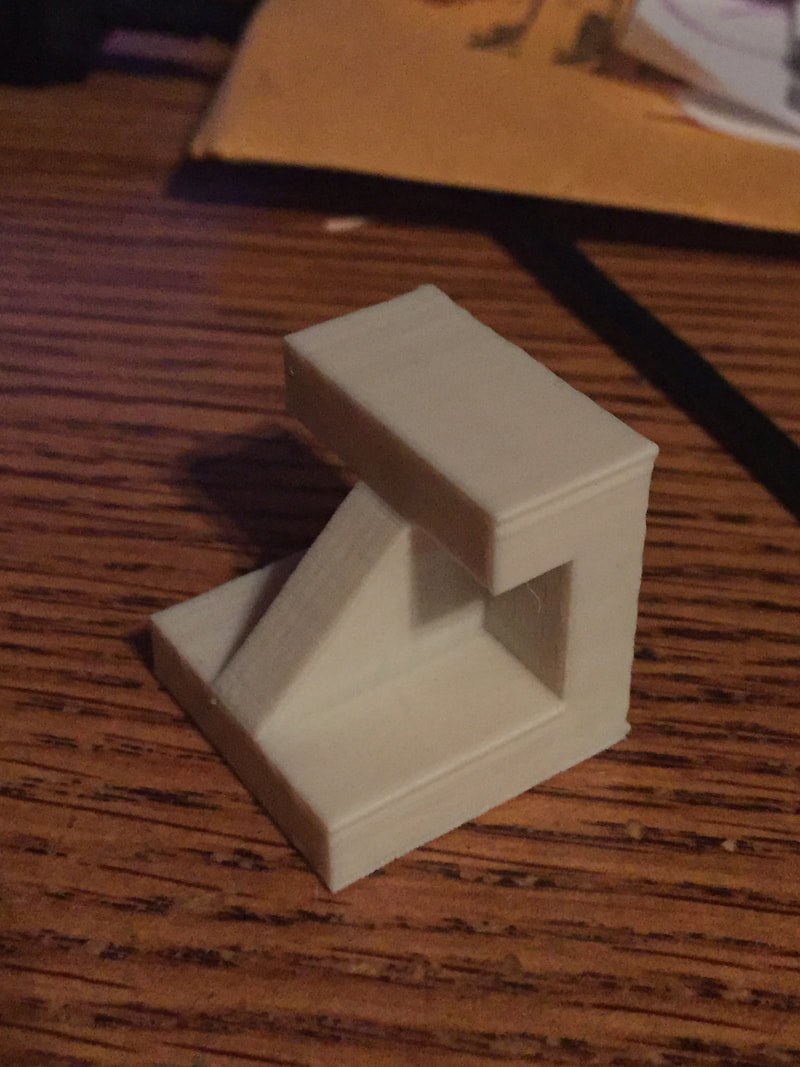
Creating an object in inventor: widget #1
Before you begin to draw in Inventor itself, sketch out the object you want to create beforehand.
Once you've done that, you can move on to creating the object in Inventor itself.
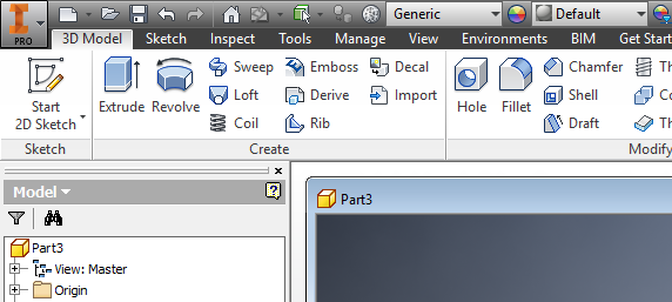
Step 1:
Select "Start 2D Sketch" in the upper left-hand corner of the Inventor screen.
Select "Start 2D Sketch" in the upper left-hand corner of the Inventor screen.
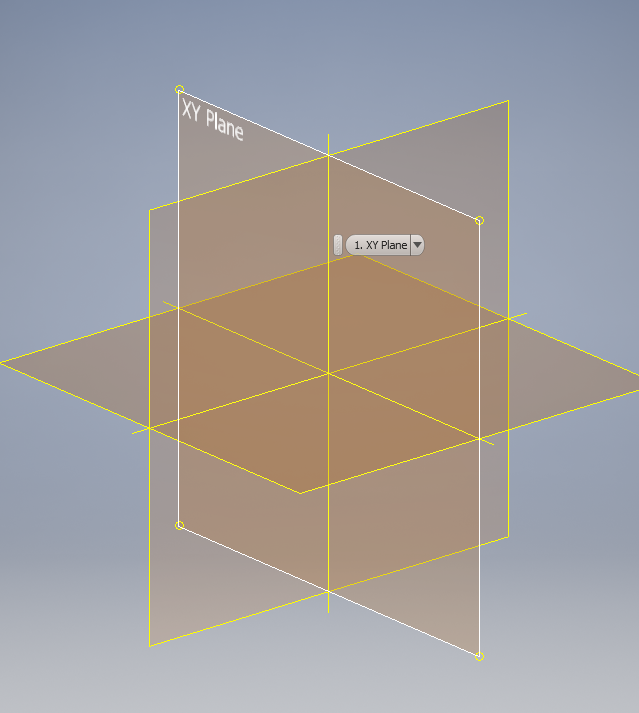
Step 2:
Select the XY Plane.
Select the XY Plane.
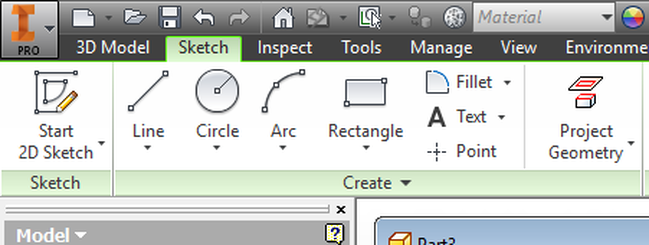
Step 3:
Select the Line tool, once again from the upper left-hand corner of the screen.
Select the Line tool, once again from the upper left-hand corner of the screen.
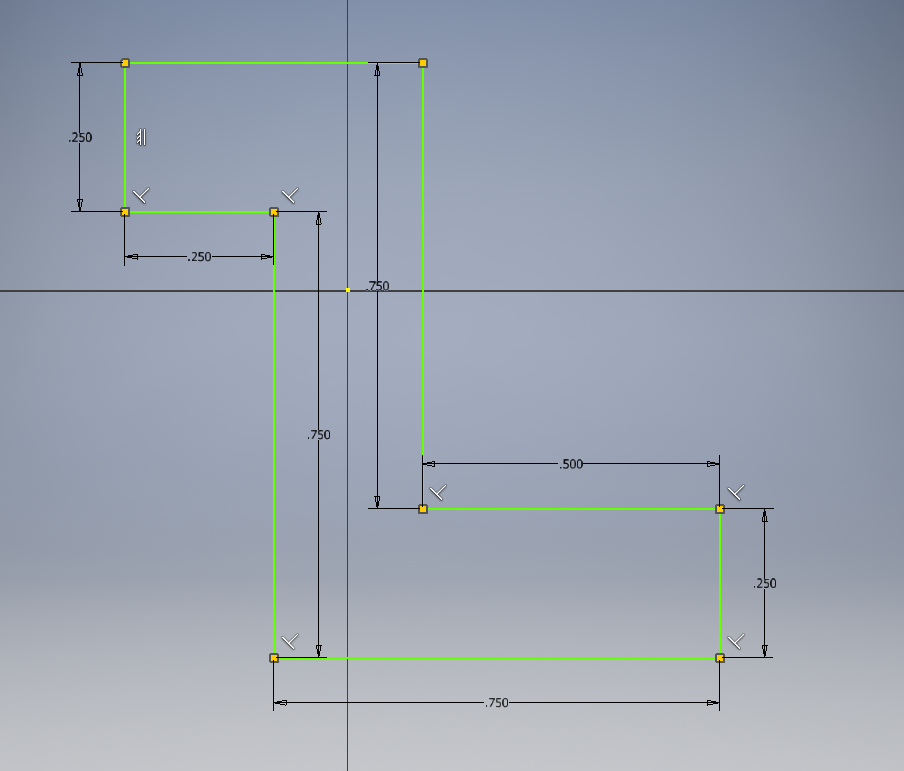
Step 4:
With the line tool now selected, click a point on the plane and begin to draw the following shape with the dimensions shown; as you draw each line, type in the values before clicking to automatically set the line to the desired length. Make sure your lines are straight and your angles are all 90 degrees, otherwise your object will be misshapen.
With the line tool now selected, click a point on the plane and begin to draw the following shape with the dimensions shown; as you draw each line, type in the values before clicking to automatically set the line to the desired length. Make sure your lines are straight and your angles are all 90 degrees, otherwise your object will be misshapen.
Step 5:
Select "Finish Sketch."
Select "Finish Sketch."
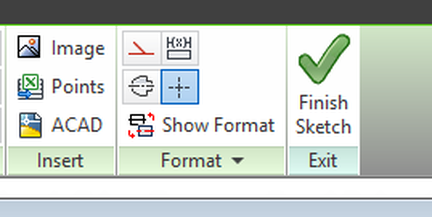
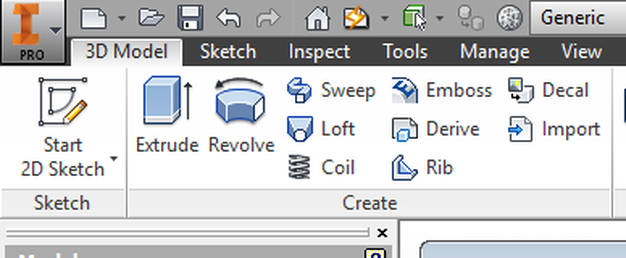
Step 6:
Select Extrude.
Select Extrude.
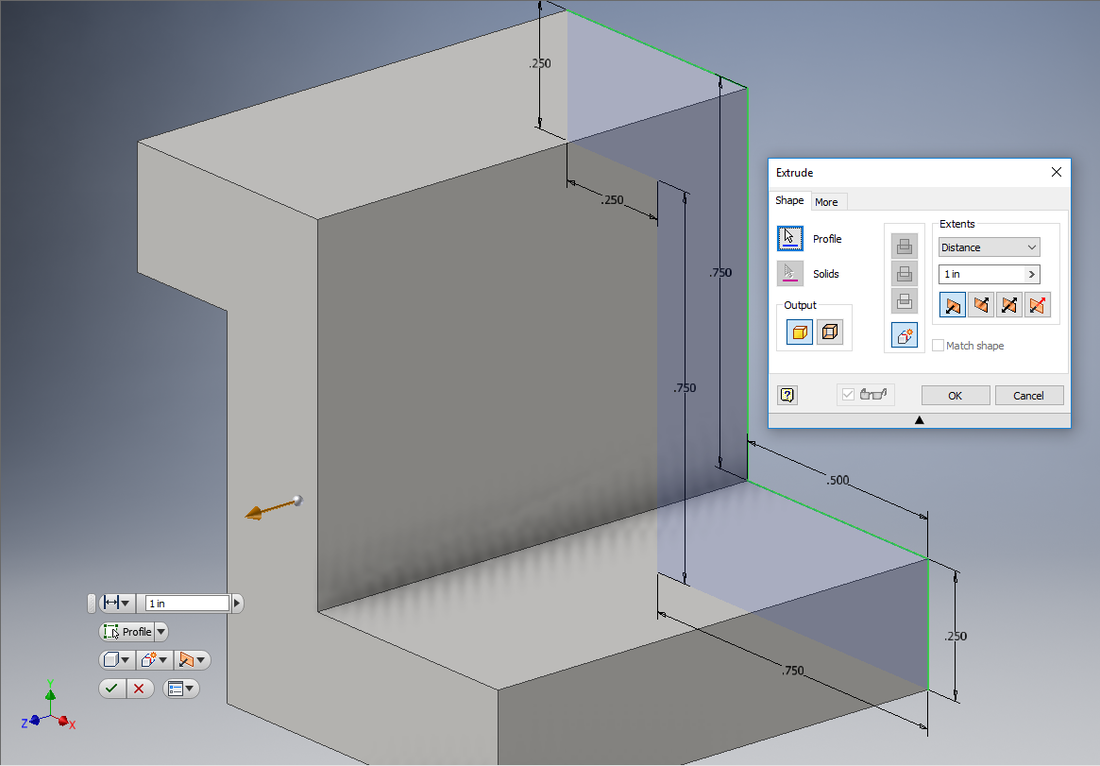
Step 7:
Make sure the extent in the extrude menu is set to 1 inch, then press "ok." Save the file, and you're done.
Make sure the extent in the extrude menu is set to 1 inch, then press "ok." Save the file, and you're done.
Printing The widget
Before you can print the object, you first have to go through the MakerBot software and set it up:
The end result of which is a preview screen such as this one:
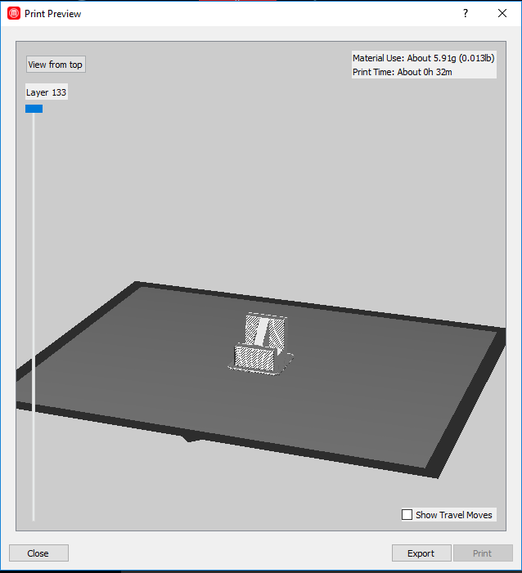
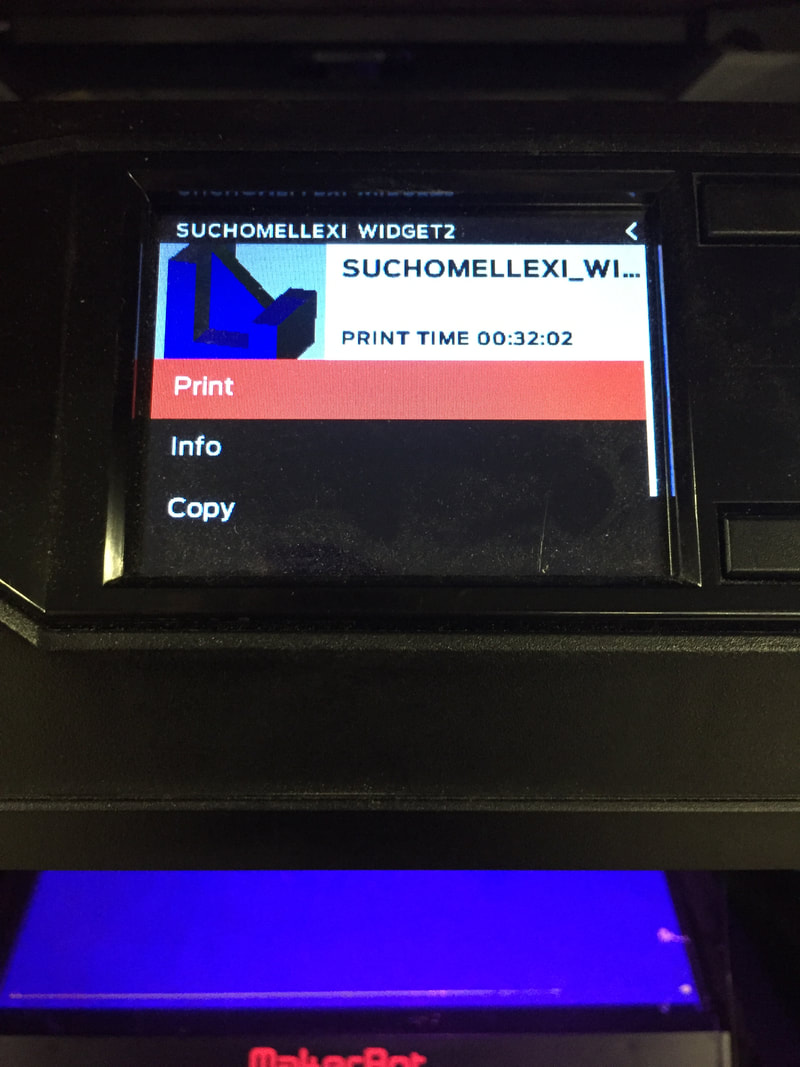
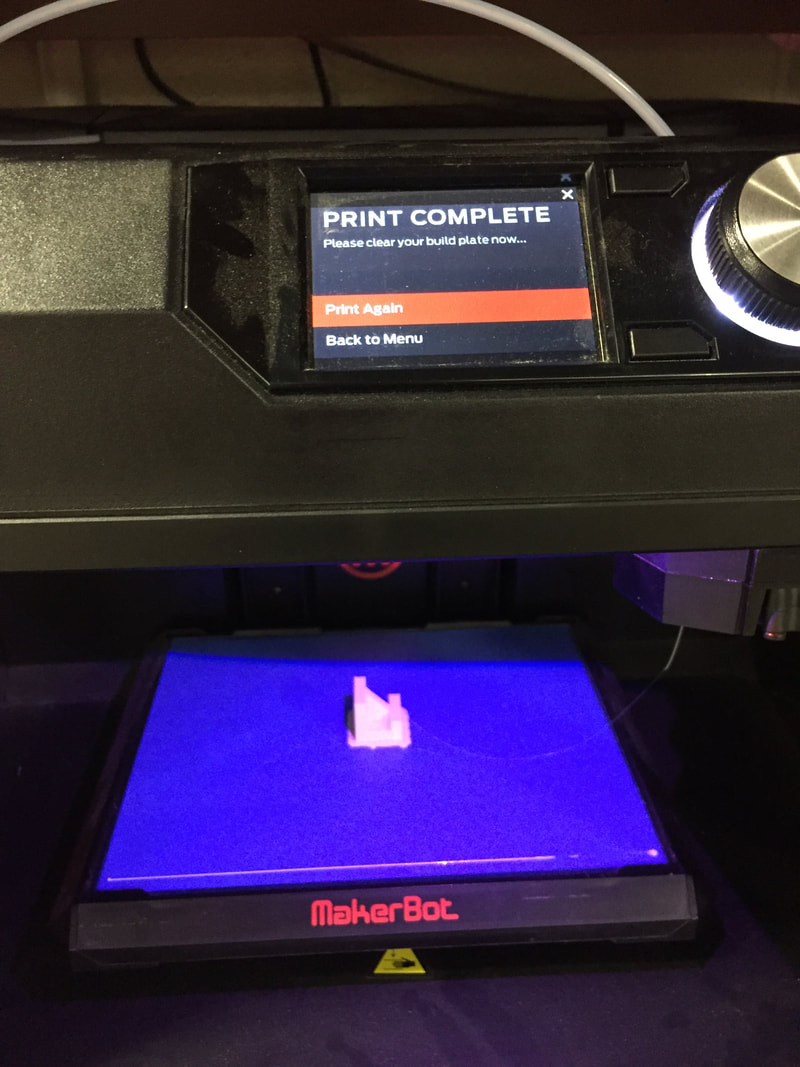
Once the file is set up, you can then begin the printing process.
Summary
Over the course of this project, I learned the basics of Inventor. We went over its functionality and uses as a design tool, as well as how to use it. We learned how to sketch, extrude and cut an object to shape it in 3D space. I also learned how to set up files for print on the 3D printers, which is done by editing the Inventor files in the MakerBot software, and converting the files to a readable format. This allows you to take the file to the printer via flash drive, select the file, and print the 3D object.
