The Idea
This project had the following requirements:
- Create a 3D maze in Inventor
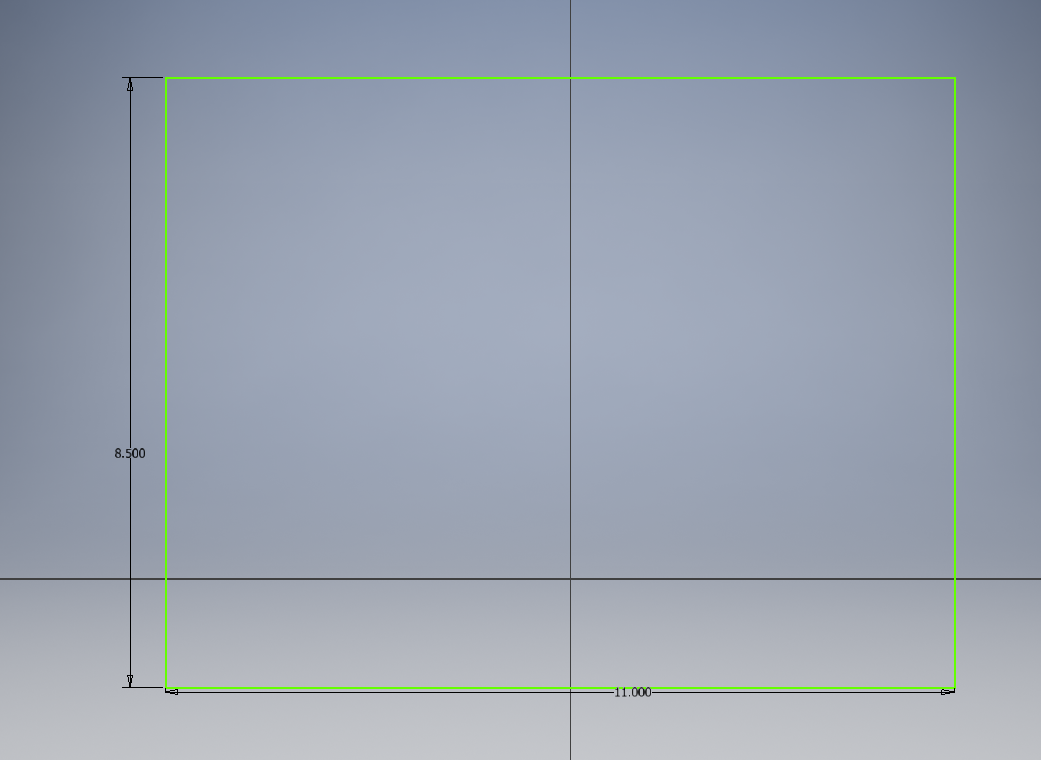
- The maze can be no bigger than 8.5x11 inches
- It should have a ¼ inch border around the perimeter and have ¼ inch channels for the ball to travel, and the material is ¾ inch thick
- The maze should have a definite start and end
- The maze is to be cut out of foam using the CNC router
Using Inventor
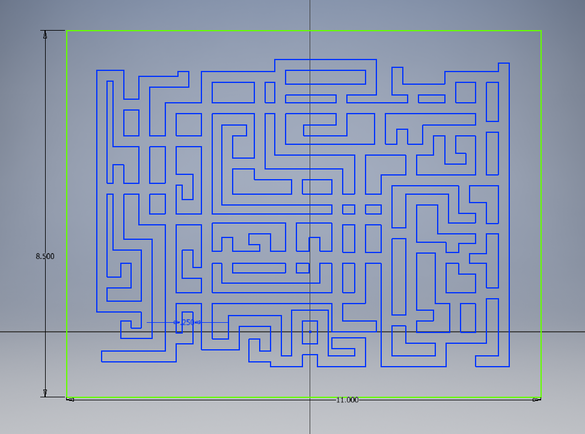
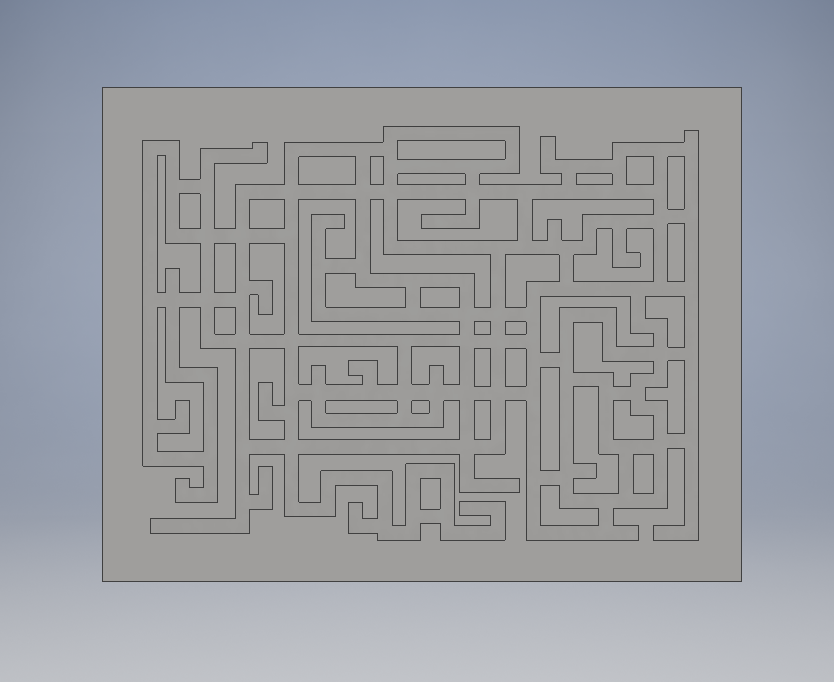
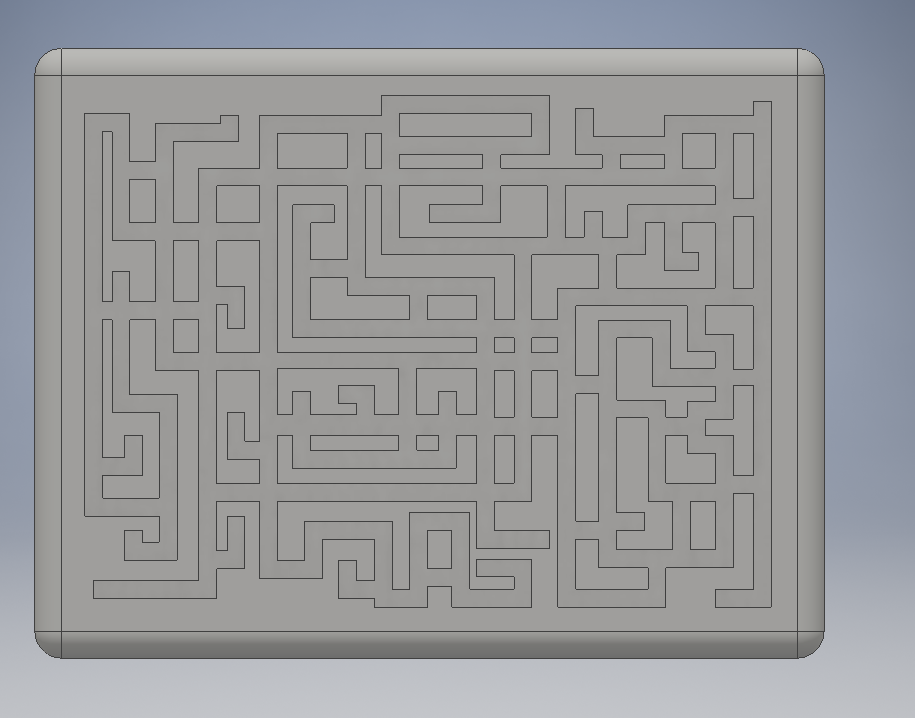
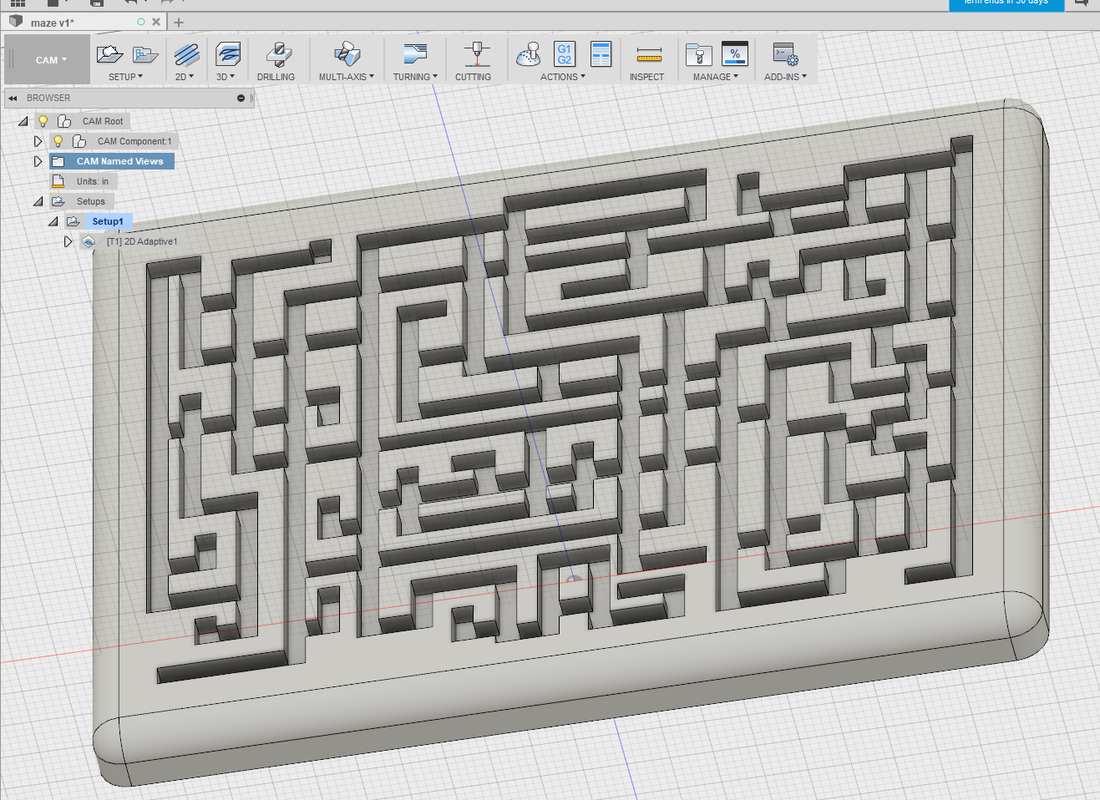
I drew up the maze in Inventor by drawing lines with the line tool, and then using the offset tool to ensure the distance between the walls of the maze was 0.25 inches. However, I ran into some issues once I began setting up the extrusion; I couldn't get the channels to extrude properly. I needed to remove them and add them back after the fact, and after that it worked just fine. At first I left the edges square, but later on i decided to round off the corners- I felt like that looked much better than the basic rectangle.
Using Fusion 360
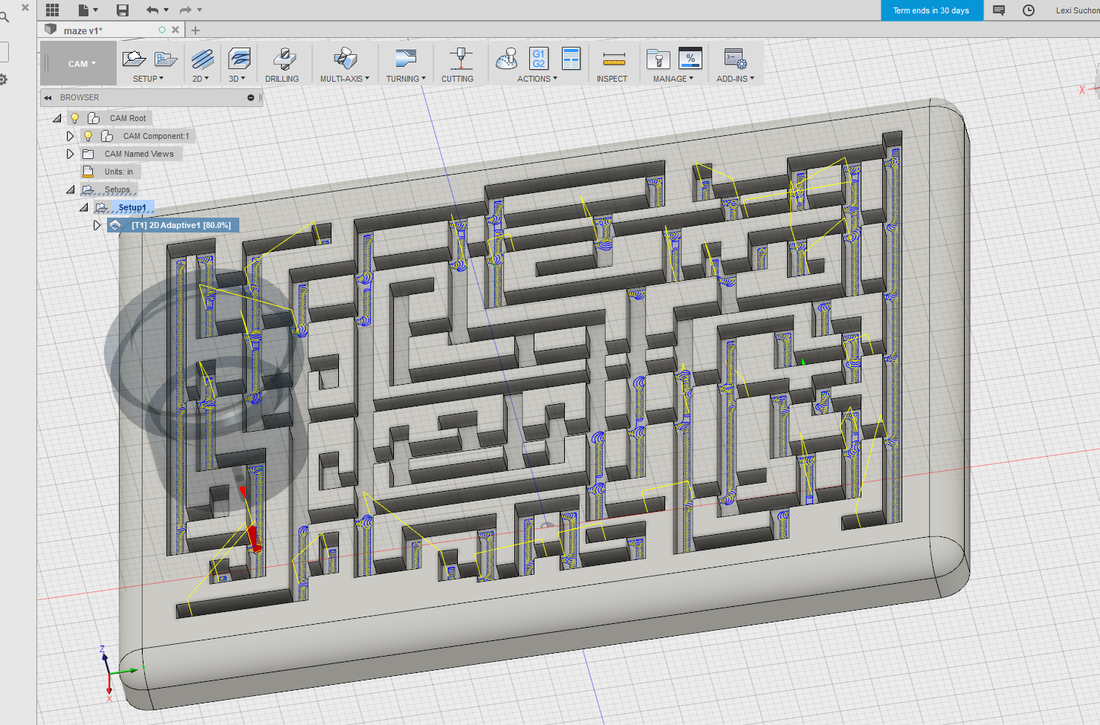
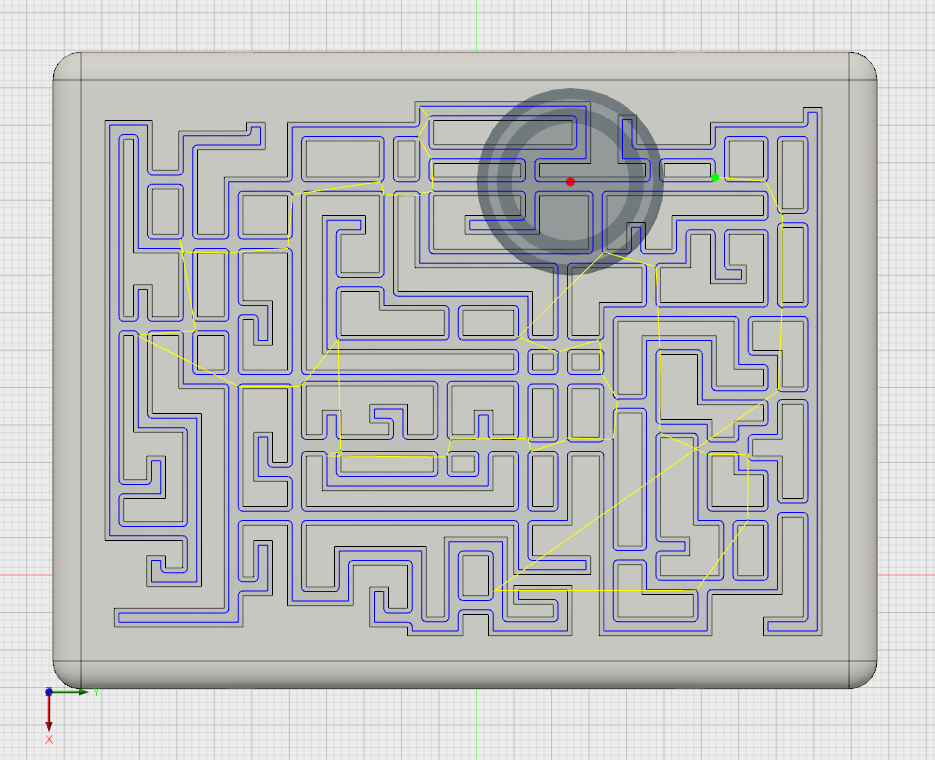
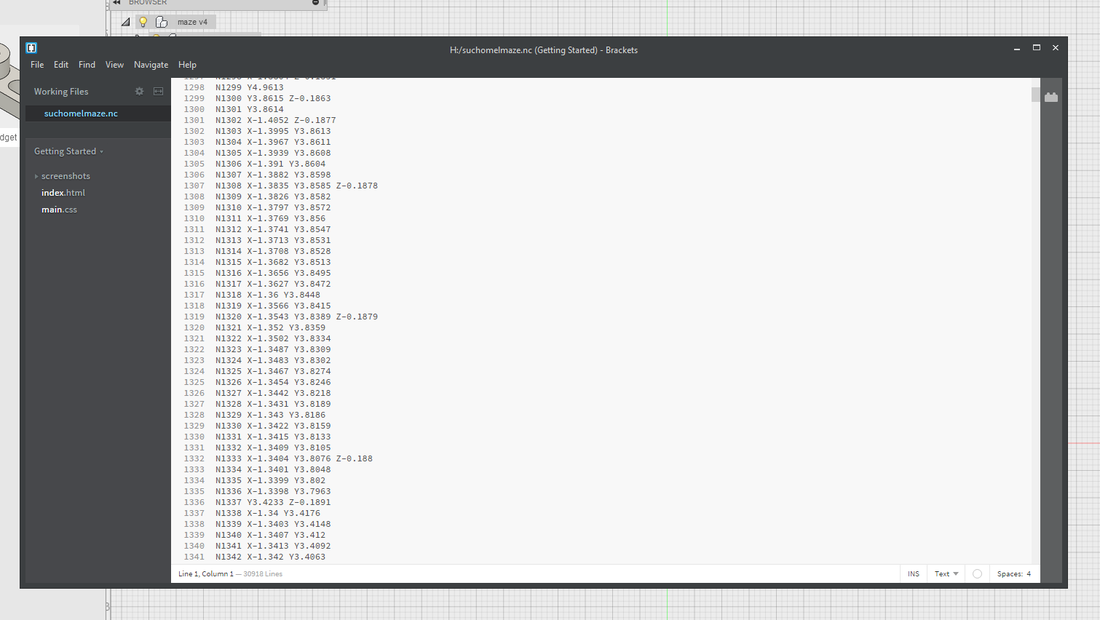
Once I finished making the maze in Inventor, I transferred it into Autodesk Fusion 360. From there, I was able to set the maze up to be cut using the router; I was able to get the simulation to run properly and got the G code for use on the machine. During this process however, I ran into some issues with the cutting process taking an absurdly long time... unfortunately, we weren't able to figure out the source of the issue, so I had to move forward and let it cut for the full length of time.
cutting
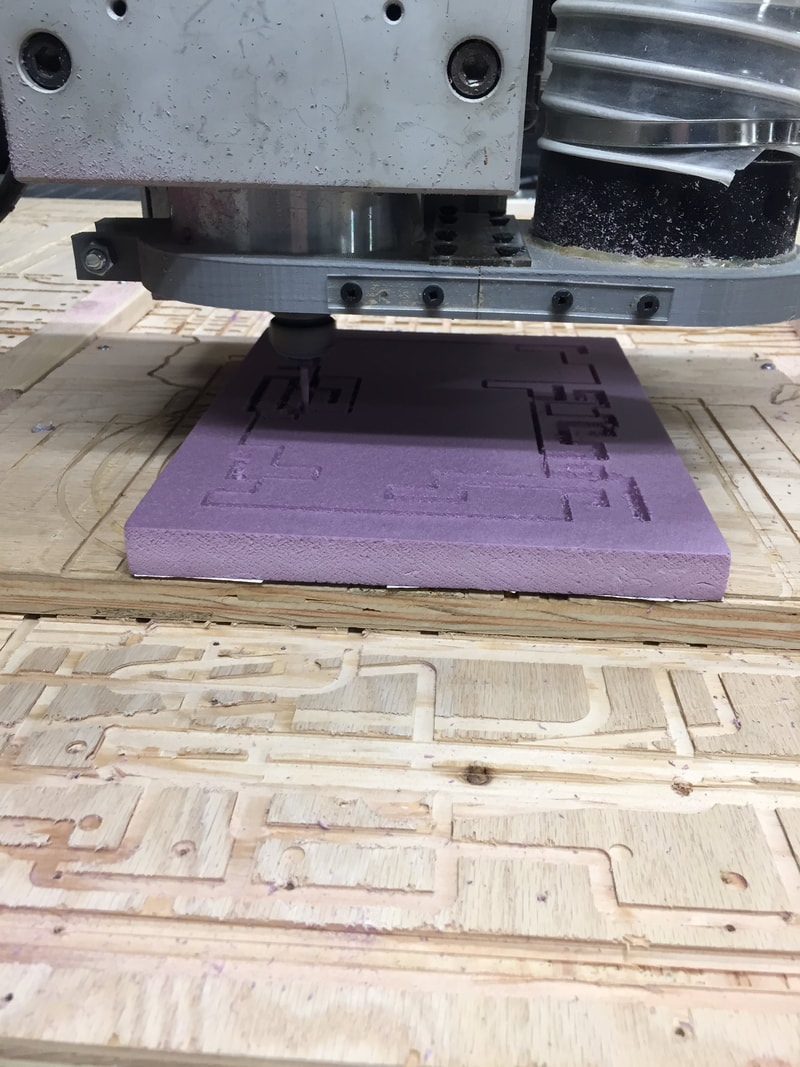
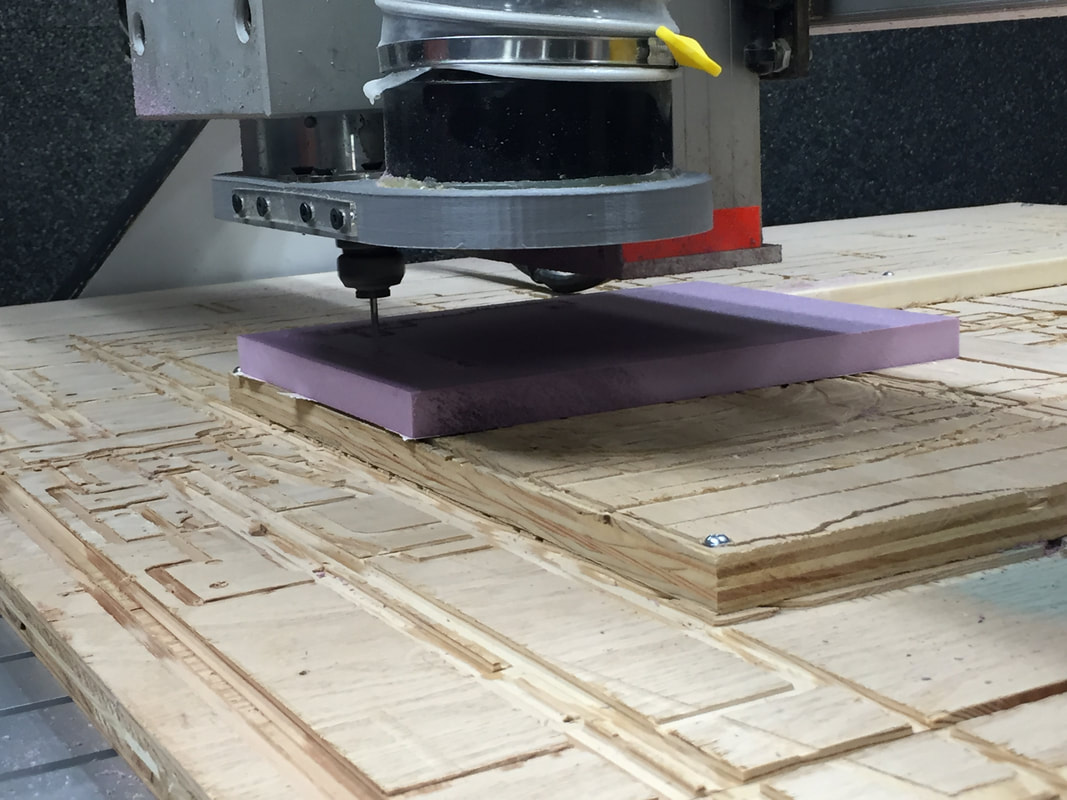
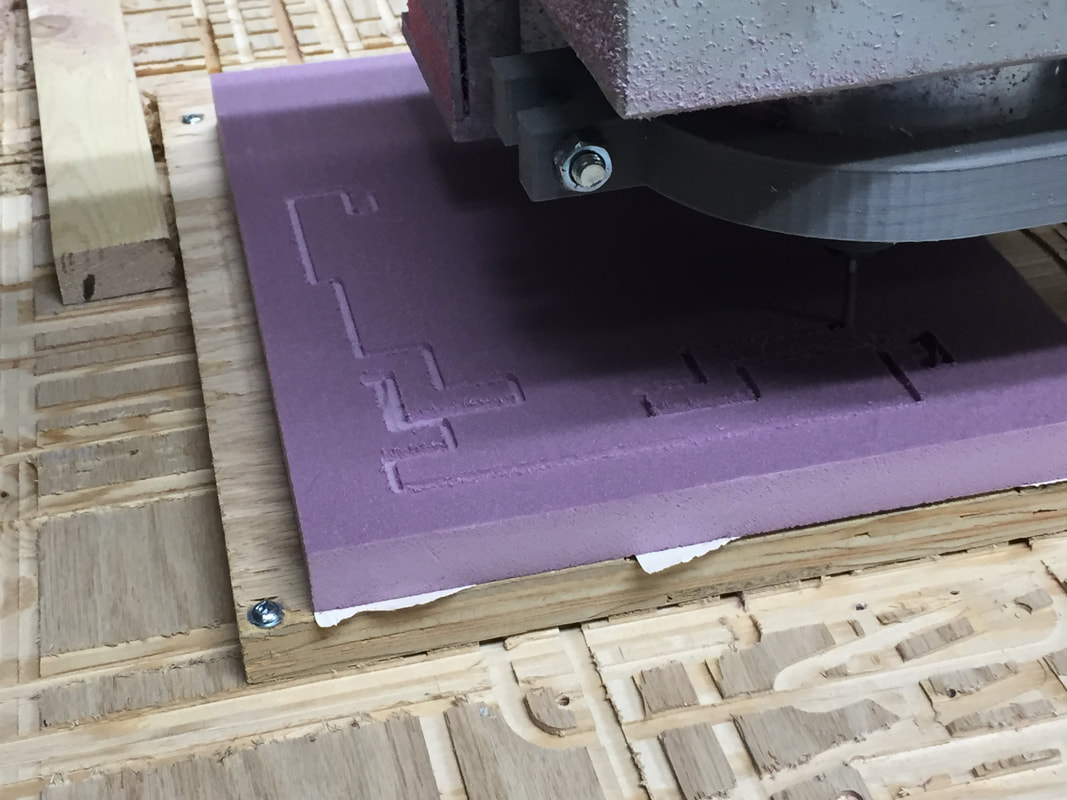
As I mentioned before, the process took around 2 hours despite our efforts to decrease the amount of time. However, beyond that the cutting went very well. I attached the foam piece with some double sided tape to the cutting area of the router, then lined up the bit with the edge of my foam and zeroed the coordinates. After that, it was basically just a matter of hitting the start button and waiting.
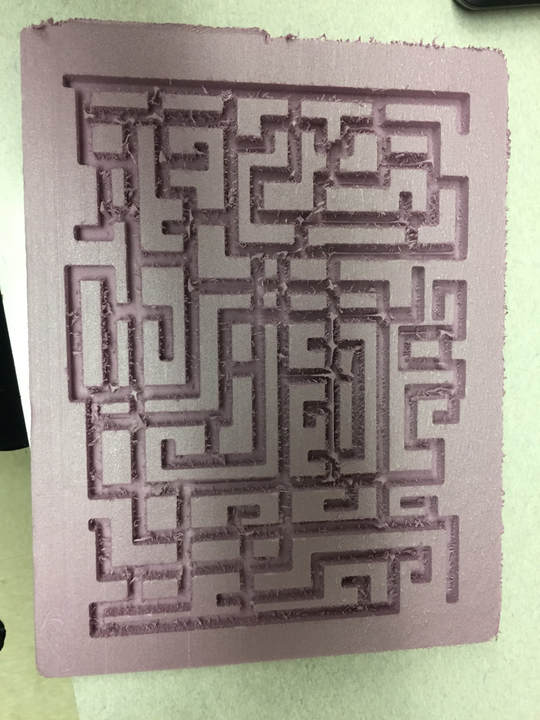
The final maze just had a bit of foam dust and a few extra bits left in the channels that had to be pulled out; beyond that, it turned out perfectly.
Summary
Over the course of this project, I learned how to use Fusion 360; more specifically, I learned how to import a file from Inventor into Fusion, how to add toolpaths that the router would recognize and be able to cut along, how to run a simulation to make sure that the CAM is set up properly, and how to get the G code. I also learned how to set up the router itself and how to secure the material to make sure it doesn't slip. I also learned a few new things about Inventor as well, such as the use of the offset tool. Despite the setbacks I experienced due to cutting times and technical difficulties, overall this was a successful project.
