The Idea

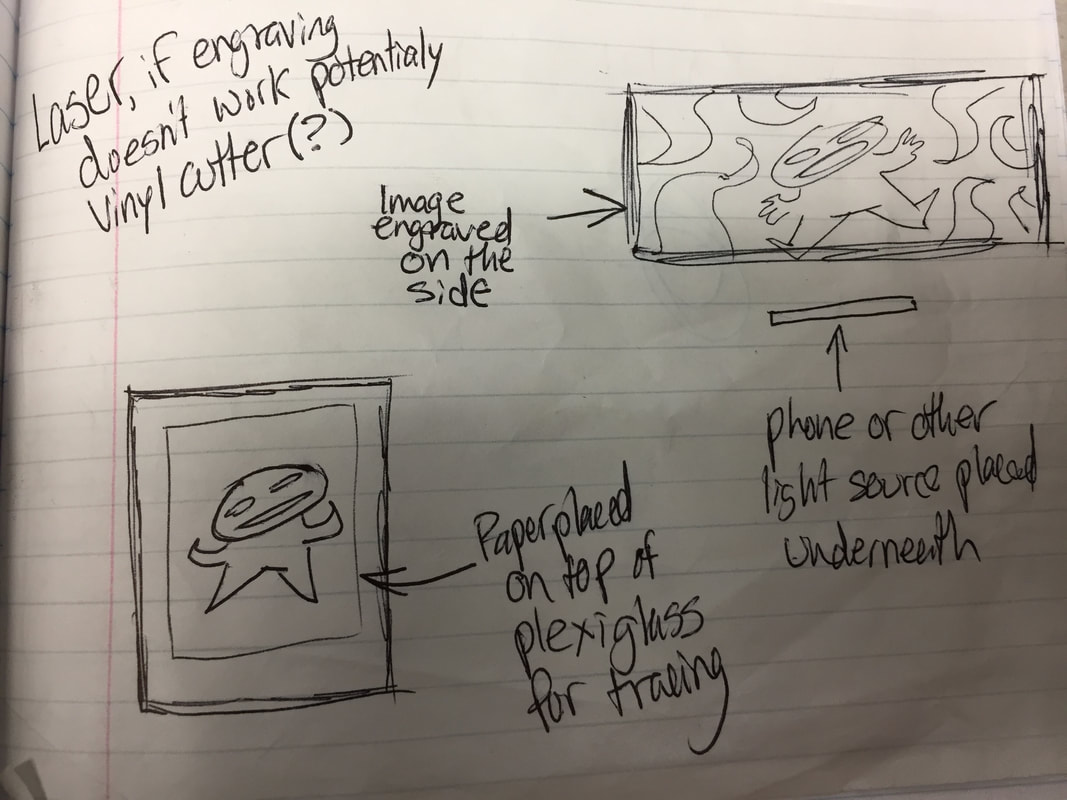
For the final project, the only real requirement was that recycled materials had to be used somewhere within the design. For this project, I chose to create a light table (otherwise known as a tracing table or light box) with a large hole in the bottom, into which I could insert a variety of different light sources. The box would be made from a thick cardboard sheet leftover from the box that a bed frame came in, and the top would be made of Plexiglas from an old poster frame. The result is an approximately 10" x 12" x 5" box that I could put many potential light sources underneath, making it adaptable and convenient. I thought about engraving an image on the side, but decided against it as the corrugation beneath the surface of the cardboard might have caused some issues.
Using Make a box
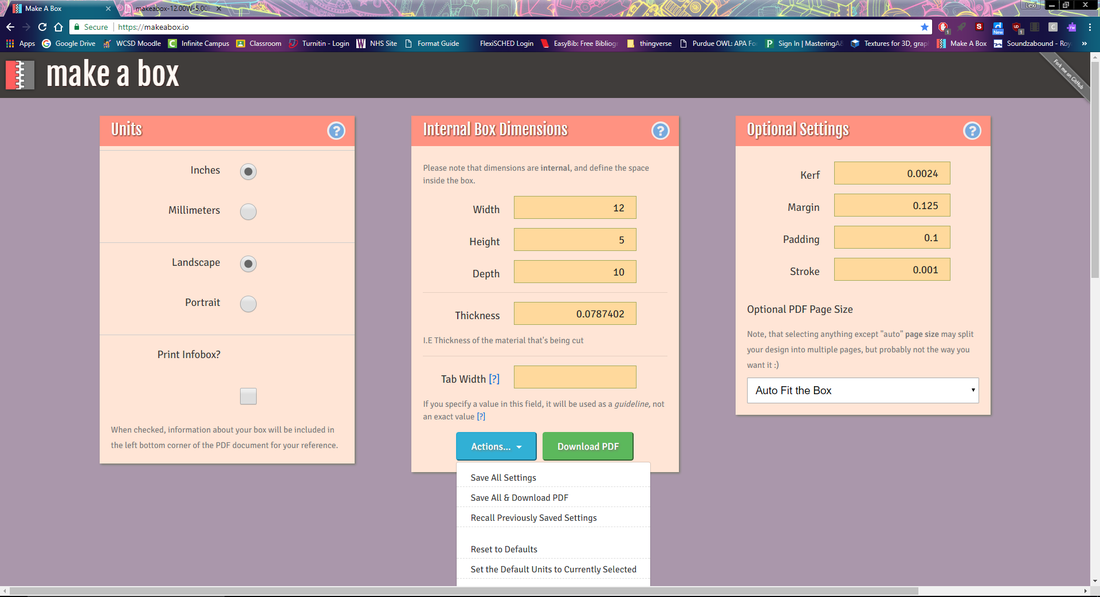
As I was browsing the internet for ideas of how to get the walls of the box to stay together on their own, I happened upon a website that made the whole process infinitely easier: Make A Box (https://makeabox.io/).
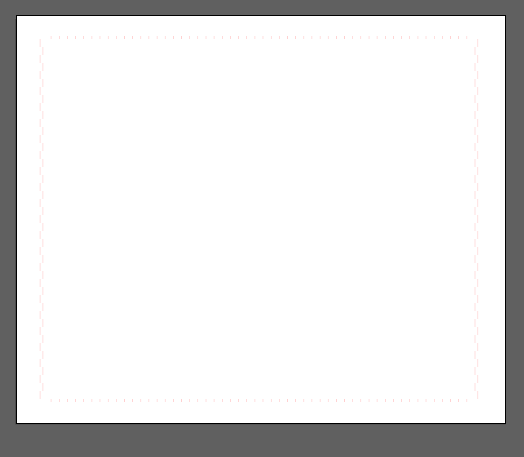
All I needed to do was enter the dimensions of my box in, the thickness of the cardboard, and hit the "Download PDF" button. The site then spits out a nice template like this one:
All I needed to do was enter the dimensions of my box in, the thickness of the cardboard, and hit the "Download PDF" button. The site then spits out a nice template like this one:
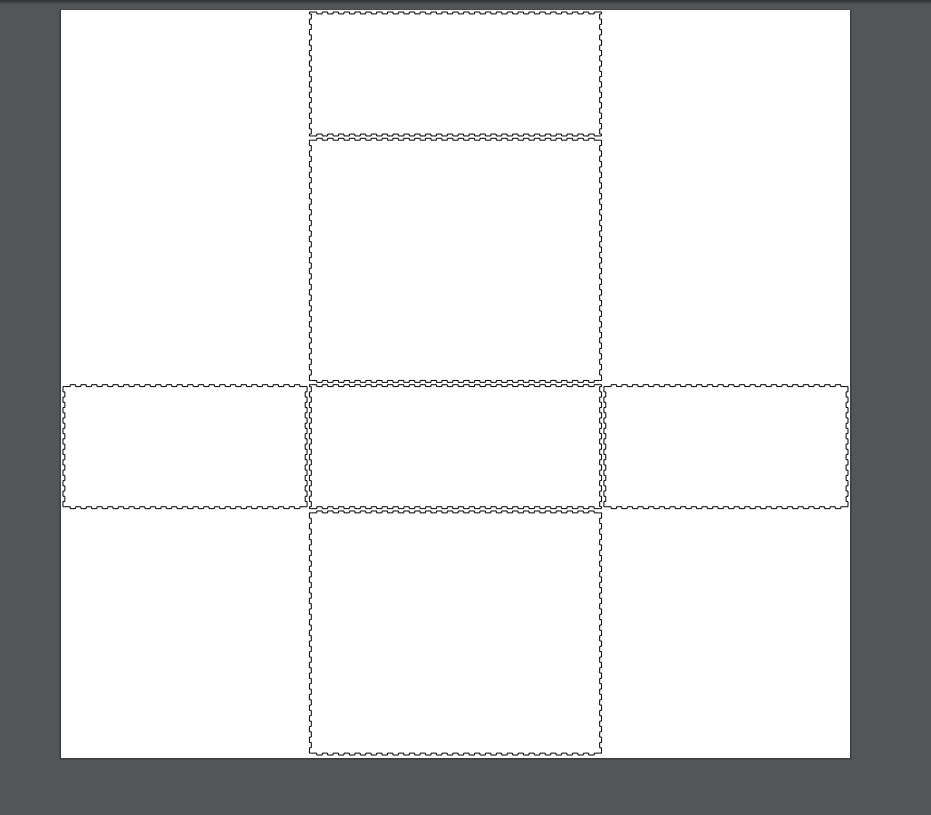
this cut out a huge amount of time that would have been spent trying to make similar ridges myself in Illustrator that may not have even lined up properly.
Using ILlustrator
Once I got the PDF file from Make A Box, all that I had to do was go in and change the colors and thicknesses of the lines to red and 0.0001, respectively. I also joined all of the line segments together to make each piece made up of one singular line. I then separated the top piece into its own file, as it would be cut out of the Plexiglas, while the rest would be cut from the cardboard sheet. I also slid the cardboard pieces around to better fit inside the bed of the laser.
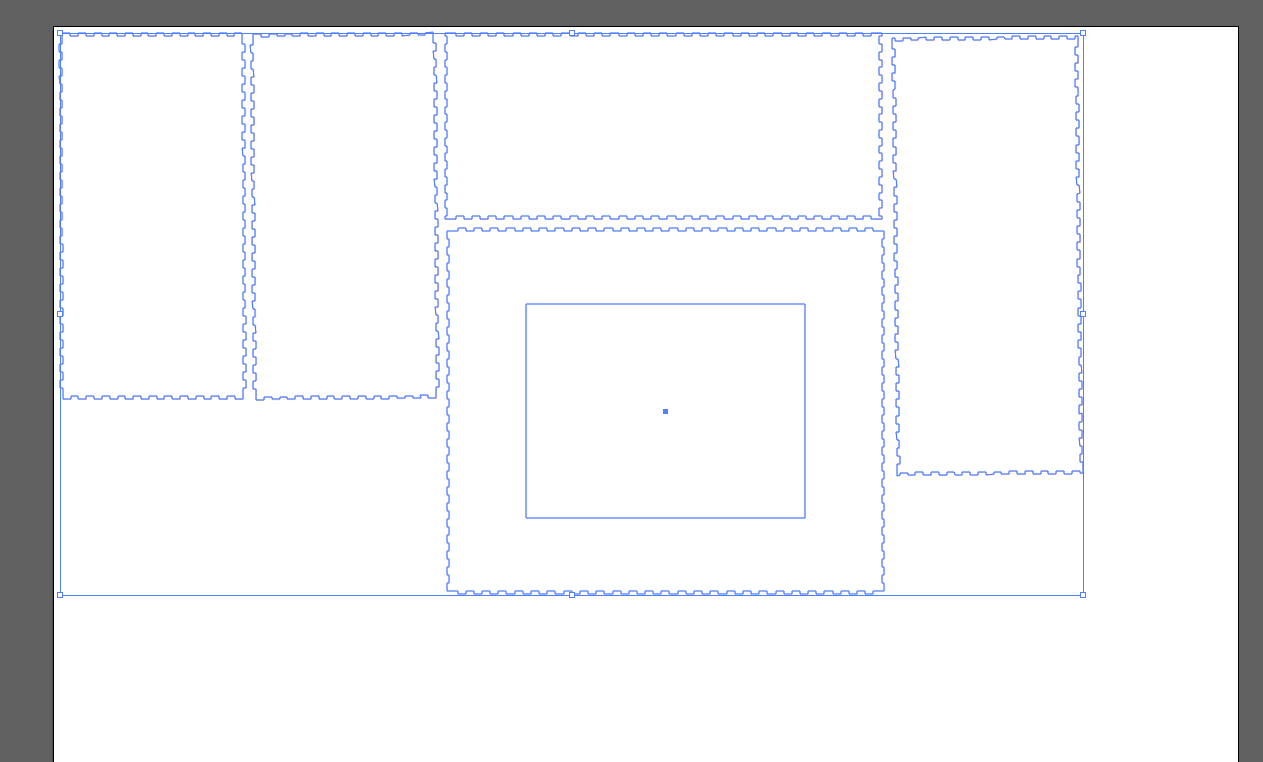
Above are the two files, the first selected in blue to better highlight its lines, and the second left alone to show the color and thickness. The first is the file meant to be cut on cardboard, the second is the top piece cut from Plexiglas.
cutting
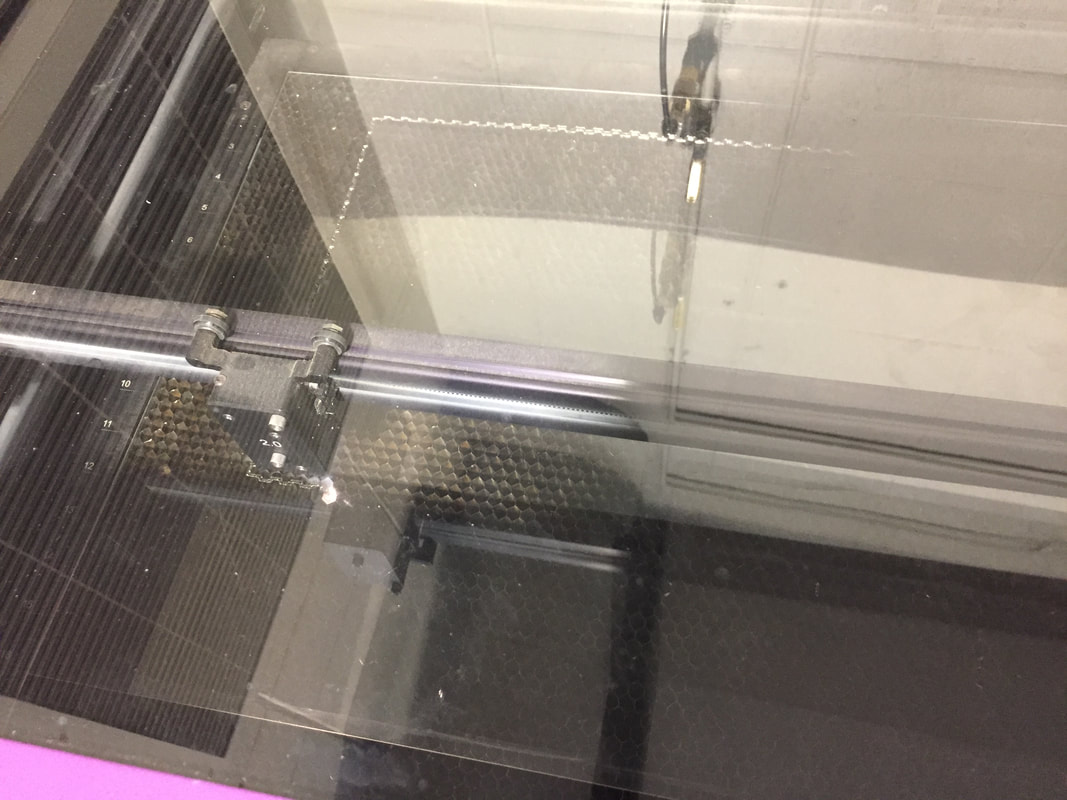
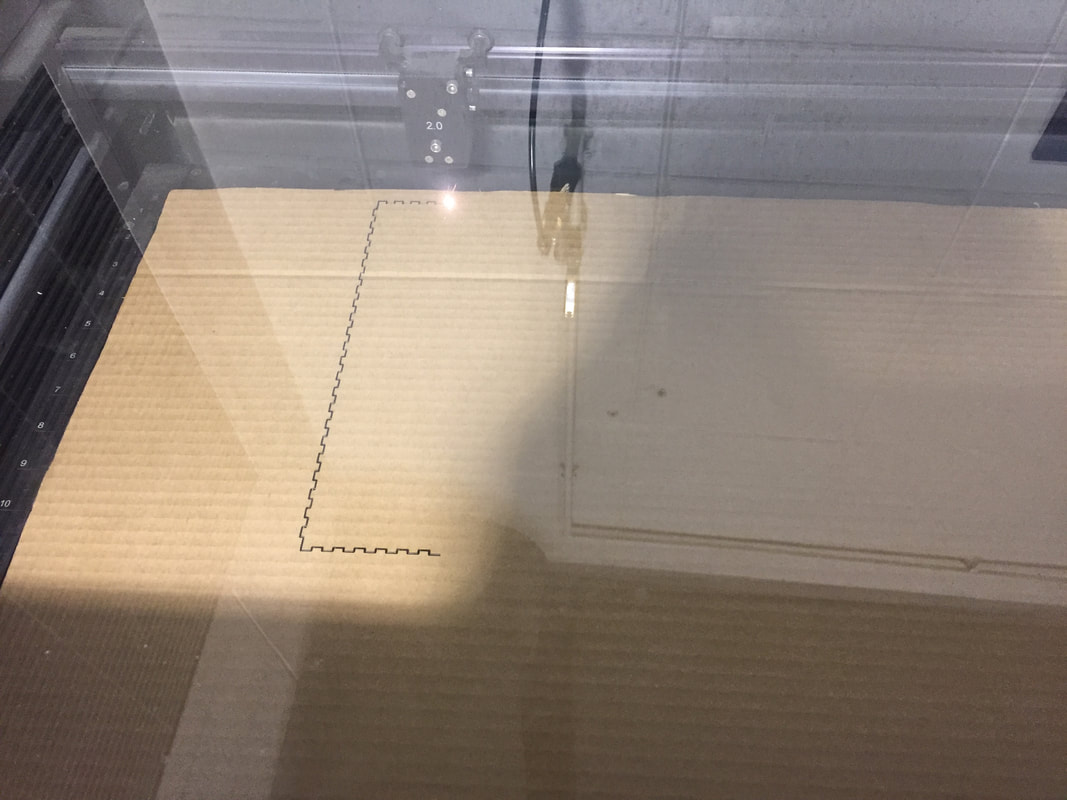
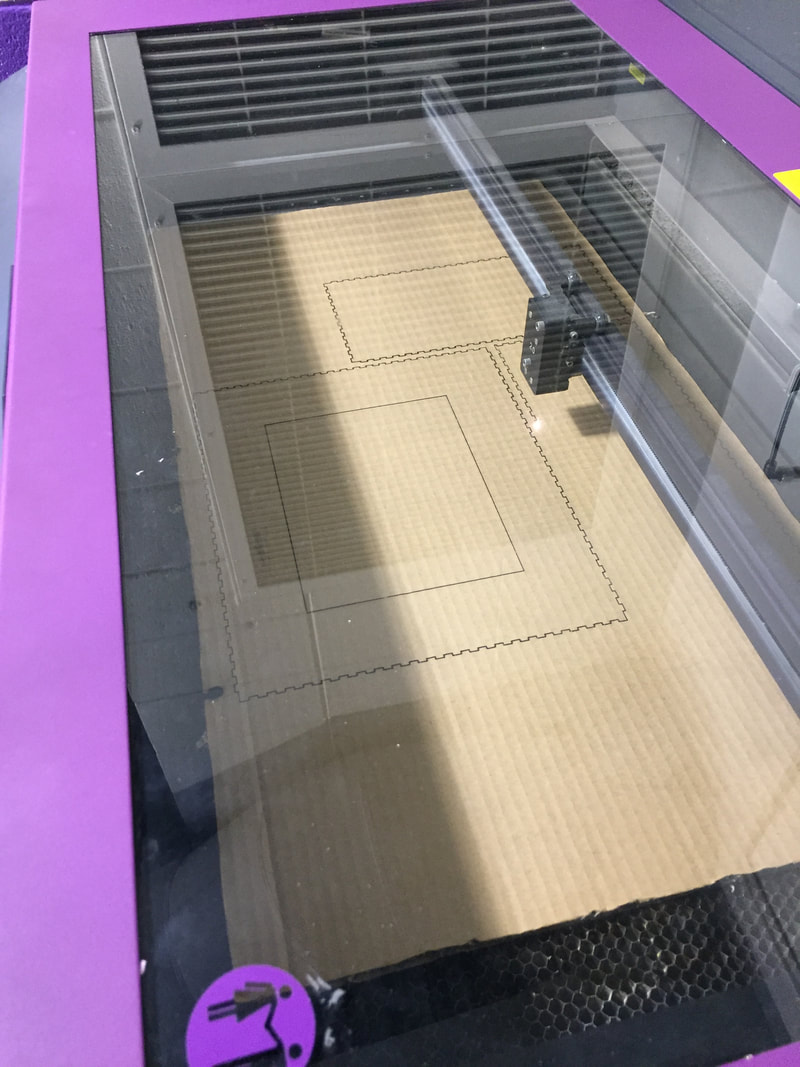
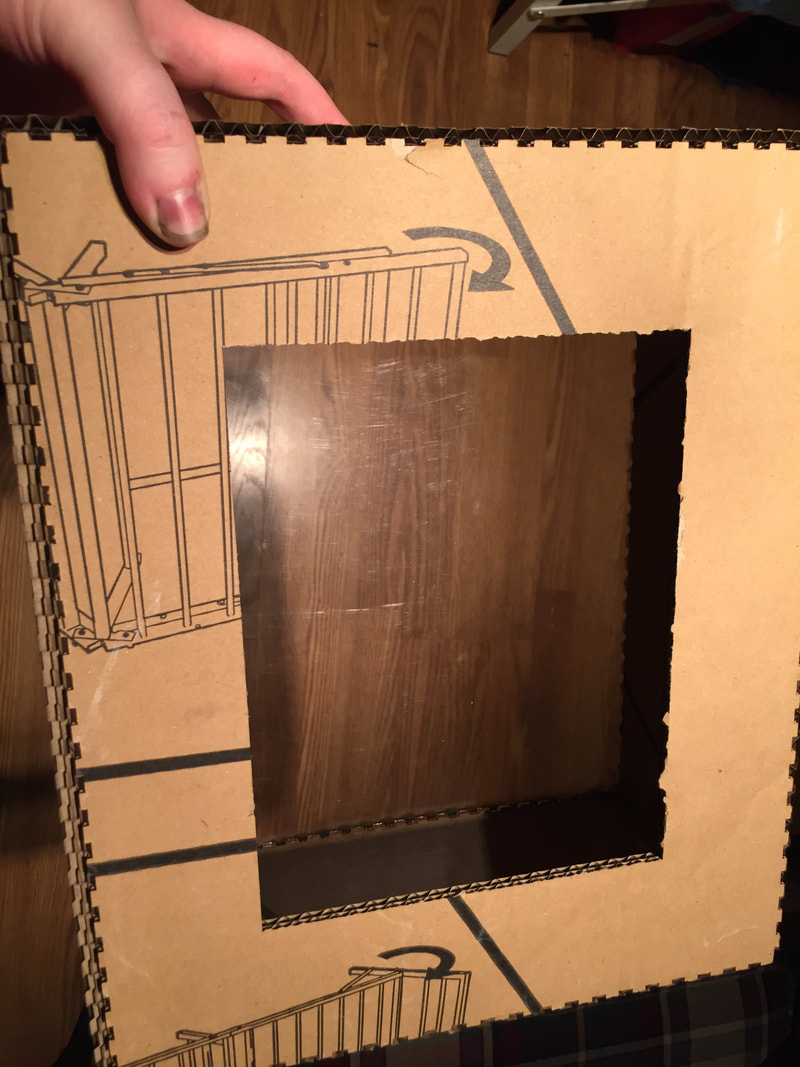
At this point in time, I've used the laser more than any other machine in the shop, so setting up the laser was no issue. I had to change out the rotational jig in order to put in the cutting bed, but that was pretty simple. I cut the Plexiglas first; it was cut all the way around with no issue whatsoever. However, the cardboard was a bit more of an issue; I first tried to cut it using the settings for tagboard, but my cardboard began to burn. This created a small hole, but thankfully it didn't damage an area of the material where I was cutting out the actual walls. I then set the laser to a different material and it worked with no issue. There were a few areas of the cardboard that weren't cut completely through, but that was easily remedied when I punched the shapes out of the main cardboard chunk.
Assembly
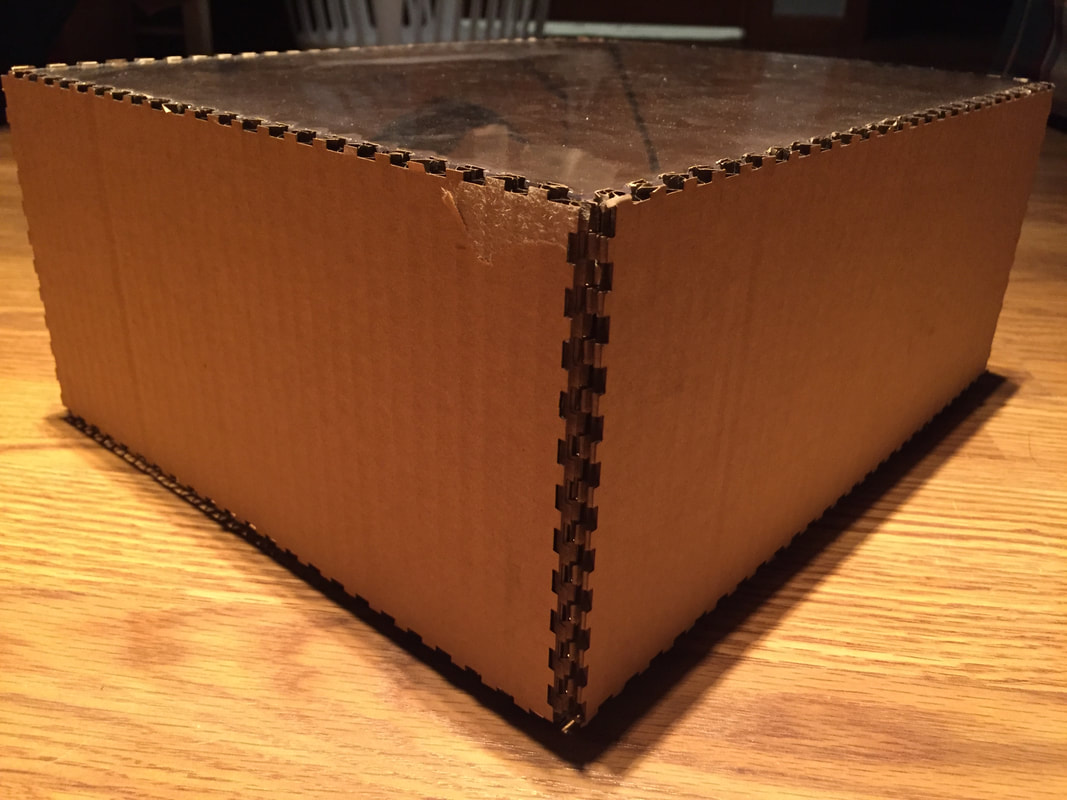
After cutting out the pieces, all that was left to do was assemble them. The notches were meant to hold the box together without assistance from tapes or glues, and worked surprisingly well. After I figured out which sides lined up with which, the process was very simple. Once I got 2 of the sides attached, I was able to quickly press the other pieces into place, topping it off with the Plexiglas surface. The box was surprisingly sturdy for something made of old cardboard and thin Plexiglas, and held together without any assistance.
Summary
Overall this project was a big success; not only did it turn out well, it also leaves me with something I'll actually use on a semi-regular basis as I do a decent amount of traditional art. It's always nice to have an easy way to trace something onto a different sheet of paper. One of the biggest things I learned during this project was how to prevent the cardboard form catching fire, something I had issues with during earlier projects. I also got experience with joining lines in Illustrator, as the initial PDF was made up of many small lines rather than one continuous one, which would have likely slowed down the cutting process quite a bit.
