What is illustrator?
Illustrator is a software that is used to create vector images. Vector images can be scaled up or down indefinitely without distortion, unlike pixel-based raster images. This is because rather than the image being made up of points of light, the images are composed of paths. These files can be used to run both the vinyl cutter and the laser cutter.
VINYL Cutting with illustrator
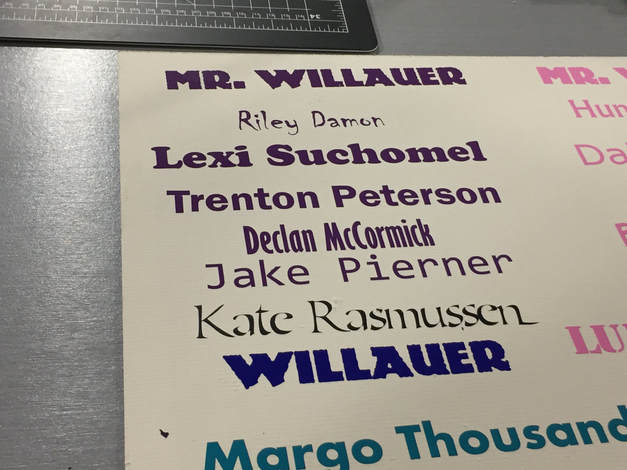
Below is the process of how I turned the following file into a vinyl decal:
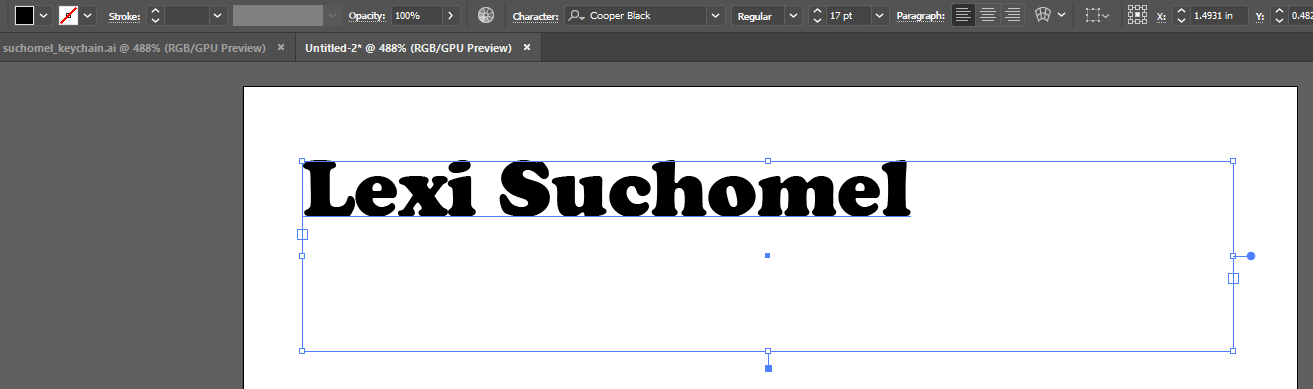
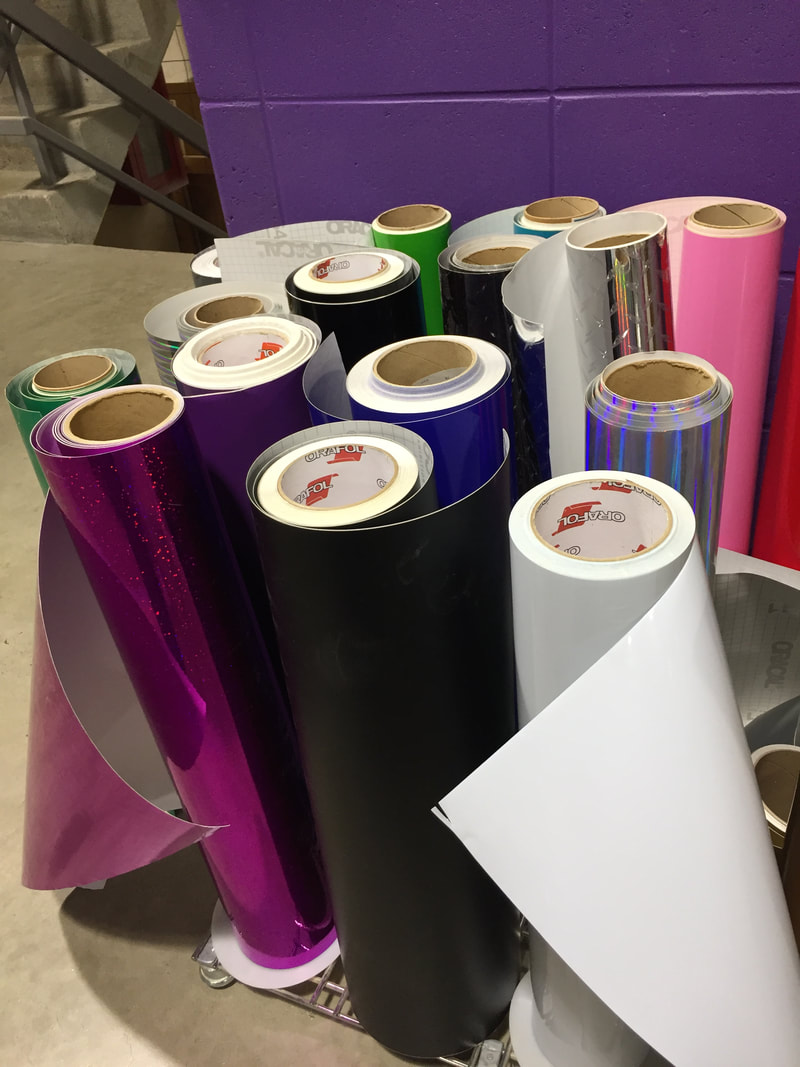
Step 1: Load the vinyl cutter with a roll of vinyl
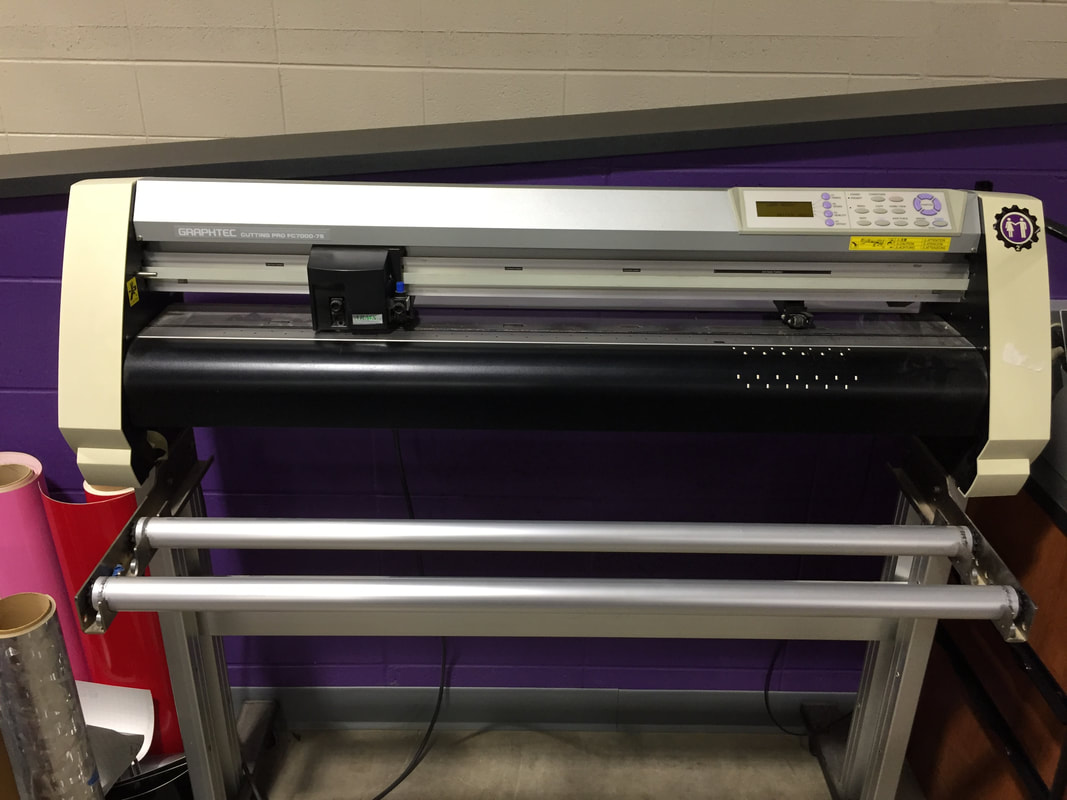
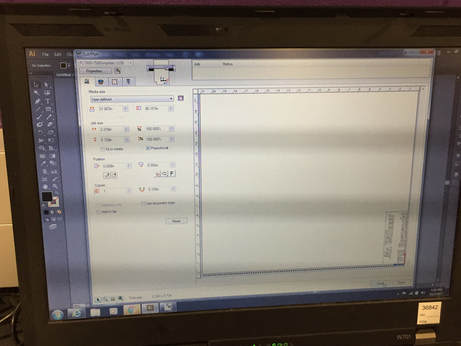
Step 2: Send the file to the cutter; make sure that the file is aligned properly before you print
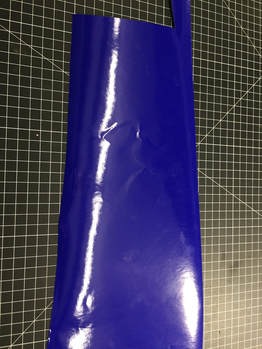
Step 3: After the cutter finishes cutting, cut off the section of vinyl that your design was cut into; peel the extra vinyl off at an angle to keep your design attached to the backing
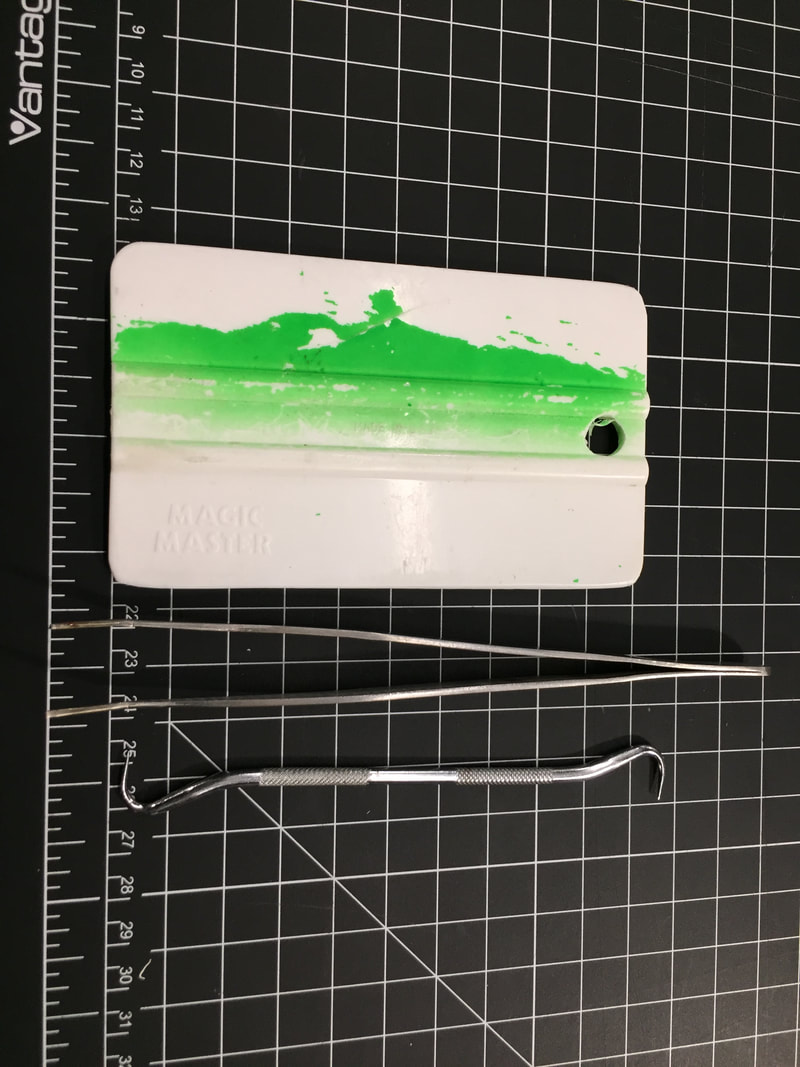
Step 4: Use a dental tool and/or tweezers to remove any vinyl that is stuck inside of the letters, then apply a layer of the clear adhesive plastic using a flat-edge
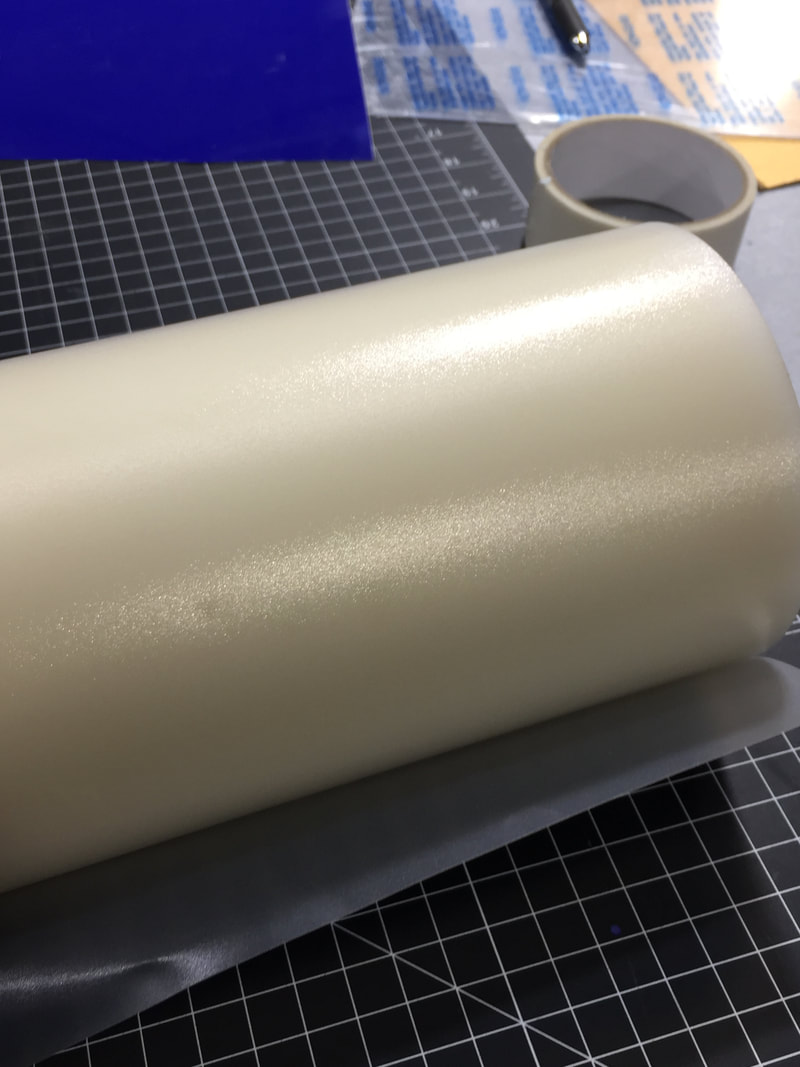
Step 5: Remove the vinyl's backing and apply the decal to your surface, then use the flat edge to press the vinyl down; after the decal is stuck down, carefully remove the clear plastic from the top
laser cutting with illustrator
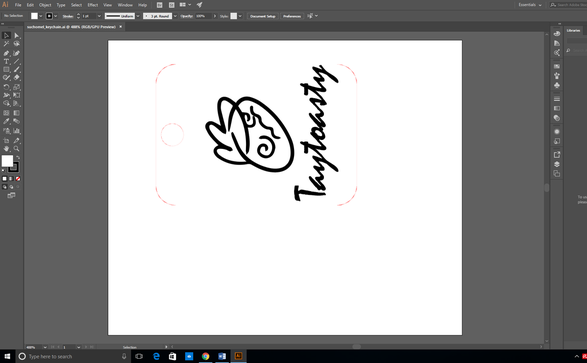
Step 1: Draw your object you want to cut out in Illusrtator; draw the lines you want cut with a 0.0001 point red line, and use black for the areas you want engraved
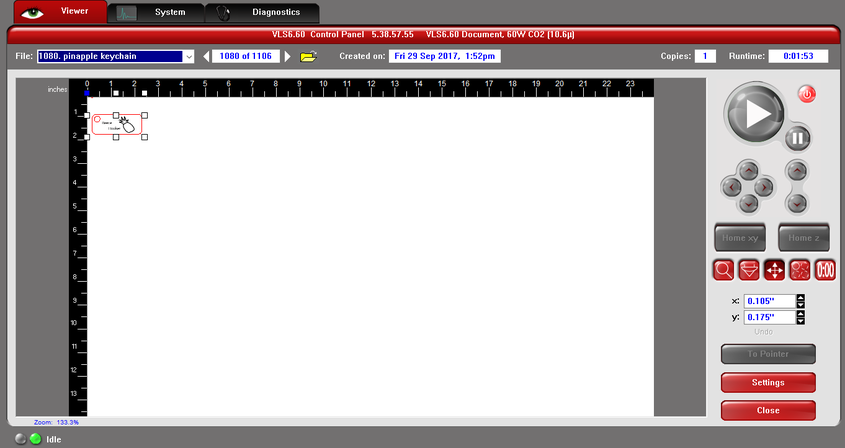
Step 2: Transfer the file to the laptop that runs the laser; select VLS660 from the print dropdown menu and position your file in the laser control panel as shown below
(NOTE: make sure the exhaust is on and you are wearing safety glasses before you begin using the laser)
Use the guide laser in the machine itself to determine where your file will cut, and re-position if needed
(NOTE: make sure the exhaust is on and you are wearing safety glasses before you begin using the laser)
Use the guide laser in the machine itself to determine where your file will cut, and re-position if needed
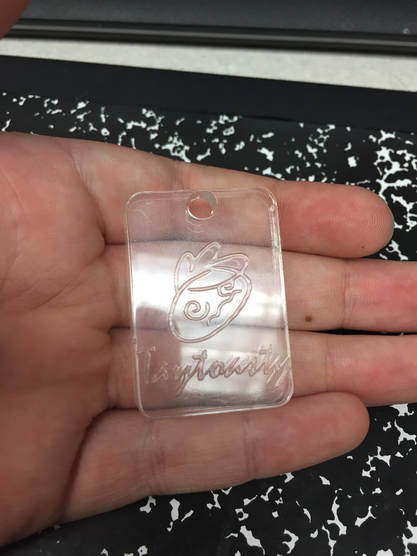
Step 3: Make sure that the laser is set up to cut the right material and at the right thickness, then close the laser and allow it to cut; once your object is cut, remove it from the bed
Summary
For these two projects, we learned how to draw an image in inventor that can be used to cut on the laser, as well as on the vinyl cutter. We also went over safety protocol with the laser, how to cut with both the laser and the vinyl cutter, and the specific line colors and thicknesses required for each to work properly. Each machine also has a program used to align the cut on your material, which we learned to set up as well. These projects were a bit easier, as I have experience with Illustrator already and so I already knew the basic ideas necessary to create the files we used to cut.
